You’ve noticed the greasy film building up on your kitchen cabinets over months of cooking. That residue doesn’t just look unappealing—it traps dirt and creates a breeding ground for bacteria. While commercial cleaners promise quick results, they often contain harsh chemicals that can damage wood finishes and harm your family’s health. You can tackle this buildup effectively using simple, natural ingredients you probably already have at home. Wondering how to restore your cabinets’ original appearance without toxic solutions?
Why Grease Accumulates on Kitchen Cabinets Over Time

Grease accumulates on kitchen cabinets over time because cooking oils and food particles become airborne during meal preparation, eventually settling on nearby surfaces.
You probably notice this buildup most around stovetops and range hoods where cooking activity happens daily. These microscopic particles cling to cabinet surfaces, creating that sticky film you feel when touching your cabinets.
Your cabinets absorb these oils gradually, making them increasingly difficult to clean. Food vapors carry grease droplets that land everywhere – not just where you expect them. This explains why even cabinets far from your cooking area develop buildup over months.
Understanding this process helps you recognize why regular gentle cleaning prevents heavy accumulation.
You’re not alone in dealing with this common kitchen challenge that affects every home cook.
How Often to Deep Clean Your Kitchen Cabinets
You should tackle your kitchen cabinets with a monthly cleaning routine to prevent grease buildup from becoming stubborn and difficult to remove.
Seasonal deep cleaning sessions help you address hidden grime and maintain your cabinets’ appearance without relying on harsh chemicals.
This regular maintenance approach saves you time and money while keeping your kitchen surfaces looking their best.
Monthly Cleaning Schedule
While monthly cleaning might seem excessive for some homeowners, establishing a regular deep cleaning schedule for your kitchen cabinets prevents grease buildup that’s harder to remove later.
You should dedicate one weekend morning each month to this task, ensuring your cleaning routine stays consistent. Start by removing all items from cabinets, then wipe down surfaces with your eco-friendly cleaning solution.
Focus on areas near the stove and around handles where grease accumulates fastest. Don’t forget cabinet interiors and tops where dust settles.
This routine maintains your kitchen’s fresh appearance while preventing stubborn grime. Monthly deep cleaning becomes easier when you stick to natural ingredients like vinegar, baking soda, and lemon juice.
Your cabinets will thank you for this gentle yet effective approach.
Seasonal Deep Cleaning
Although monthly cleaning maintains your cabinets’ appearance, seasonal deep cleaning provides the intensive maintenance your kitchen surfaces truly need. You should deep clean your cabinets every three months to remove built-up grease and grime that regular wiping misses.
This schedule prevents permanent staining and keeps your kitchen looking fresh.
Start by removing all items from cabinets and wiping down every surface with warm, soapy water. Focus on areas around handles and hinges where grease accumulates. Use baking soda paste for stubborn spots. Don’t forget to clean the tops and bottoms of shelves.
Your seasonal routine should include checking cabinet hardware for looseness and tightening as needed. Clean interior walls and floors thoroughly.
This thorough approach guarantees your cabinets stay beautiful while extending their lifespan considerably.
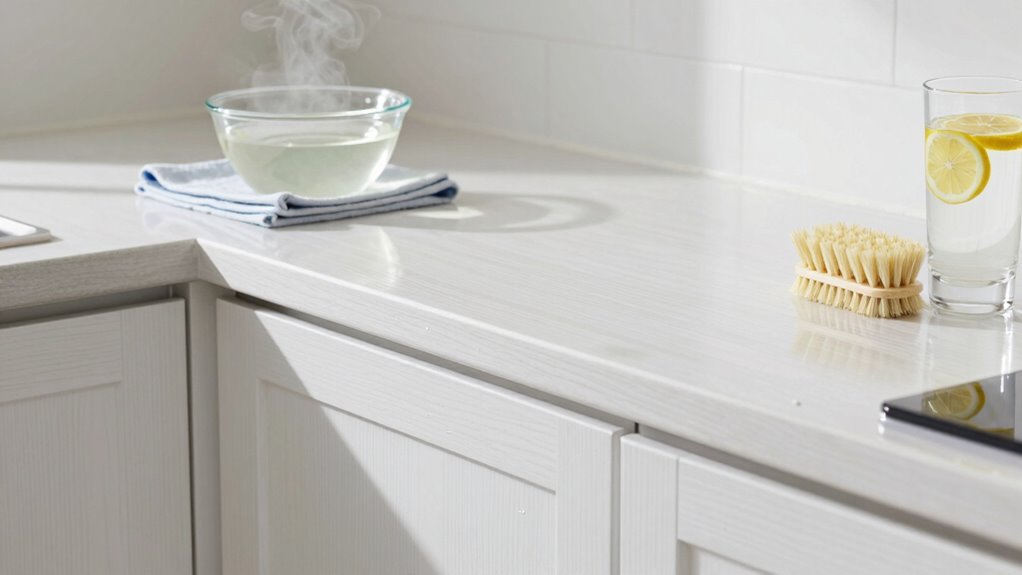
Gather Your All-Natural Degreasing Ingredients
You’ll need essential all-natural cleaning supplies like white vinegar, baking soda, and castile soap to tackle greasy buildup effectively.
These ingredients work together to cut through stubborn grime without harsh chemicals that can damage your cabinets or harm the environment.
Mix them into simple DIY degreasing solutions that are both powerful and safe for regular use.
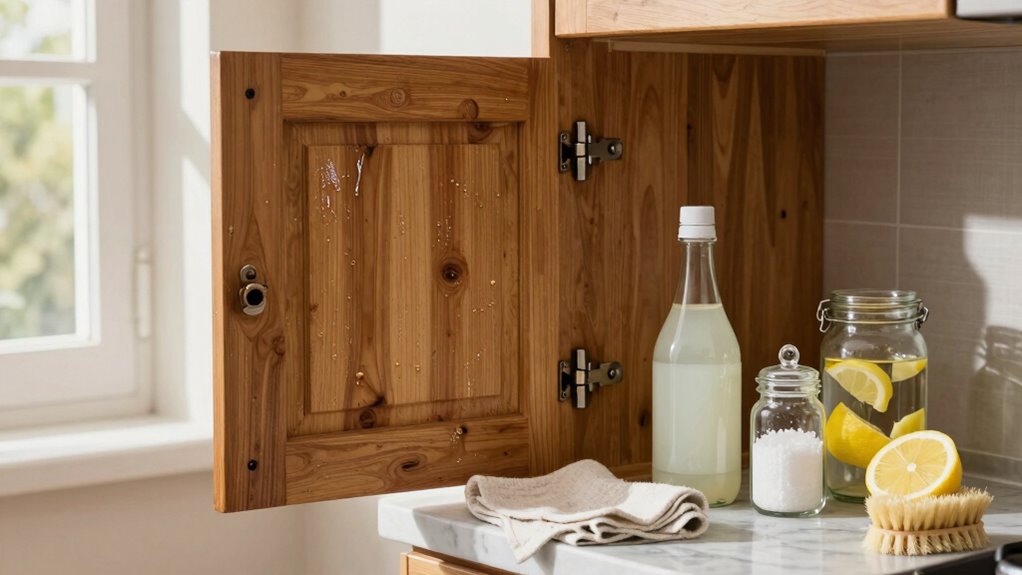
Essential All-Natural Cleaning Supplies
Roll up your sleeves and gather these powerhouse natural ingredients that’ll cut through grease without harsh chemicals.
You’ll need white vinegar for its acidic degreasing power, baking soda as a gentle abrasive, and castile soap for tough grime removal.
Lemon juice provides natural antibacterial properties while tackling stubborn stains. Grab some coarse salt for extra scrubbing action on baked-on grease.
Don’t forget microfiber cloths that’ll trap dirt without leaving residue. Essential oils like tea tree or lavender add antimicrobial benefits while leaving cabinets smelling fresh.
These simple ingredients work synergistically to break down years of accumulated kitchen grime.
You’re joining countless others who’ve discovered safer, effective alternatives to commercial cleaners. Your family deserves chemical-free cleaning solutions that actually work.
DIY Degreasing Solution Recipes
While preparing your all-natural cleaning arsenal, mix white vinegar and warm water in a 1:1 ratio for your primary degreasing solution. This powerful combination cuts through stubborn grease without toxic chemicals.
Gather these essential ingredients for effective cabinet cleaning:
- White vinegar – your main degreasing agent that dissolves oily buildup
- Warm water – activates vinegar’s cleaning power naturally
- Baking soda – creates gentle abrasive paste for tough spots
- Lemon juice – adds citrus power and fresh scent naturally
- Microfiber cloths – reusable cleaning tools that won’t scratch surfaces
These simple ingredients work together synergistically.
You’re creating safe, effective solutions that protect your family’s health while delivering professional-level results. Your cabinets will gleam without residue or harmful fumes.
This approach connects you with traditional cleaning wisdom while supporting your commitment to natural living.
Prepare by Removing Cabinet Hardware First
Removing cabinet hardware before deep cleaning guarantees thorough access to all surfaces and prevents damage to hinges, knobs, and handles during the cleaning process.
You’ll need a screwdriver to remove hinges, knobs, and handles carefully. Place all hardware in a bowl or container to prevent losing small pieces. Label containers by cabinet location if you have multiple rooms. This step ensures you can reach every corner and crevice without obstruction.
Removing hardware also protects metal finishes from cleaner contact, maintaining their appearance longer. Work methodically from top to bottom, cabinet by cabinet.
Clean hardware separately using your DIY degreasing solution and a soft brush. Let everything dry completely before reassembly. Taking time for proper preparation makes the entire cleaning process more efficient and effective.
Clear Dust Before Applying Any Cleaner
Clearing dust from your greasy kitchen cabinets requires one essential step before you apply any cleaning solution. You must remove loose particles first to prevent grinding dirt deeper into surfaces.
- Grab a microfiber cloth or duster
- Wipe down all cabinet surfaces thoroughly
- Pay special attention to corners and crevices
- Remove any cobwebs or debris from handles
- Work from top to bottom systematically
This preliminary step guarantees your homemade cleaners work effectively. Dust acts as an abrasive when mixed with moisture, potentially scratching your cabinets.
By clearing dust first, you create the clean foundation necessary for your degreasing solution to penetrate properly. You’ll achieve better results faster while protecting your cabinet finish.
Take time to do this properly – it makes your entire cleaning process more efficient and eco-friendly.
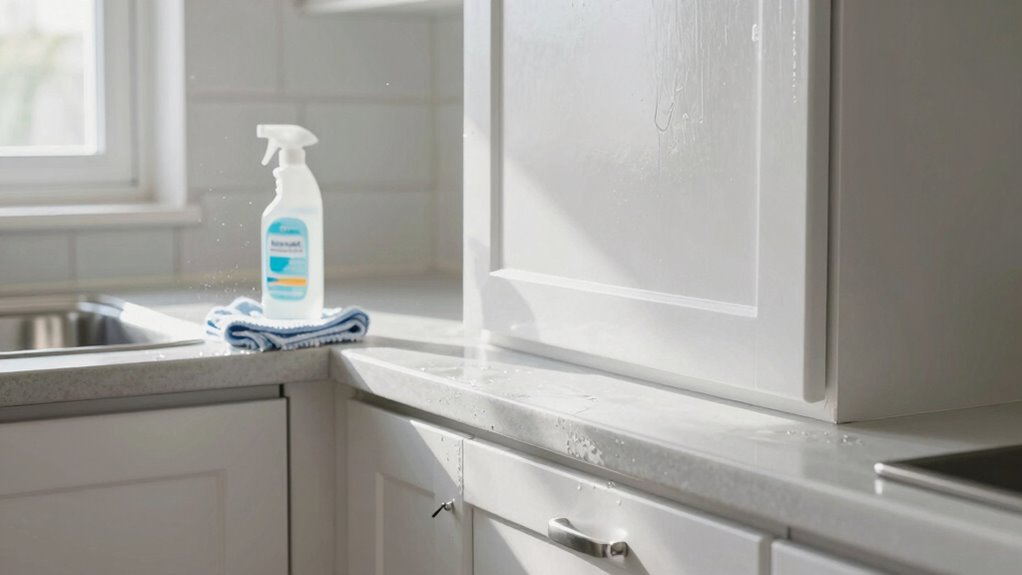
Mix a Safe DIY Degreasing Cleaner
Creating your own degreasing cleaner is both cost-effective and environmentally responsible.
You’ll need just three simple ingredients: white vinegar, baking soda, and warm water. Mix one part vinegar with two parts warm water in a spray bottle. Add two tablespoons of baking soda and shake gently until dissolved.
This powerful combination cuts through grease naturally without toxic fumes or residues. The acidic vinegar breaks down oily buildup while baking soda provides gentle abrasion. Your homemade cleaner works as effectively as commercial products but costs pennies.
Store your mixture in a labeled spray bottle away from direct sunlight. Shake well before each use since ingredients may separate.
This eco-friendly solution keeps your kitchen cabinets spotless while protecting your family’s health and reducing plastic waste from store-bought cleaners.
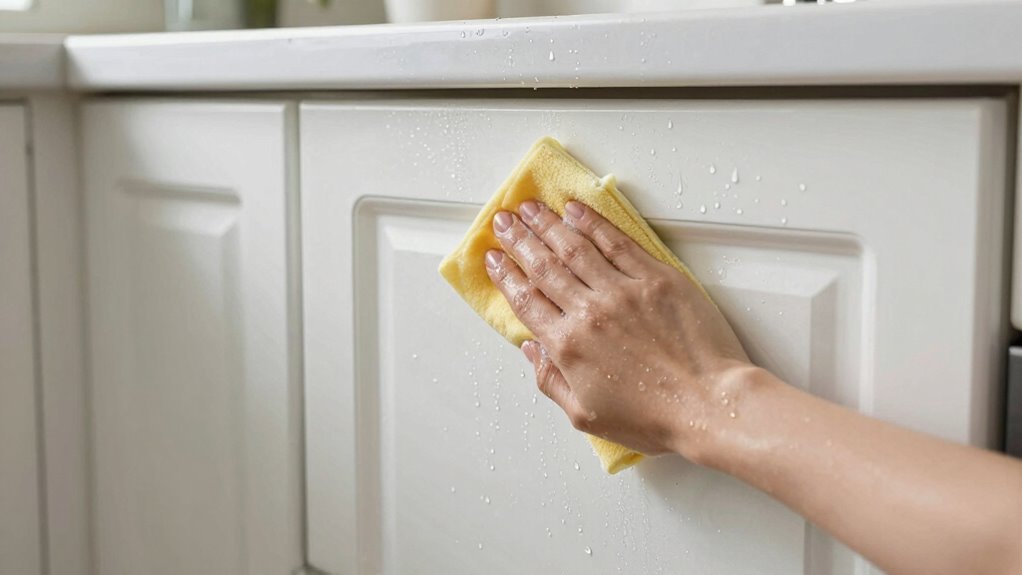
Apply Cleaner and Let It Break Down Buildup

Now that you’ve prepared your homemade degreasing cleaner, it’s time to put it to work on your greasy kitchen cabinets.
You’ll want to let the natural ingredients work their magic by allowing adequate dwell time for the grease to break down properly.
- Spray or apply the cleaner directly onto cabinet surfaces
- Focus on areas with visible grease buildup and fingerprints
- Let the solution sit for 3-5 minutes to penetrate stubborn grime
- Wipe away loosened grease with a damp microfiber cloth
- Work in small sections to maintain cleaning effectiveness
This gentle approach helps your homemade cleaner tackle years of accumulated grease without harsh chemicals.
Your cabinets will thank you for choosing this eco-friendly method that’s safe for your family and the environment.
Scrub Away Stubborn Grease Without Damage
A few stubborn grease spots might require extra attention, but you can remove them without harming your cabinet surfaces.
Grab a soft-bristled brush or non-abrasive scrub pad and work in gentle circular motions. You’re not battling the grease—you’re coaxing it away. For particularly greasy areas, sprinkle baking soda directly onto the surface before scrubbing. The mild abrasion cuts through buildup without scratching.
Don’t forget corners and crevices where grease loves to hide. If your cabinets have intricate details, use an old toothbrush to reach those tight spots.
Keep your strokes consistent and patient. Stubborn doesn’t mean impossible. You’ve got this, and your cabinets will thank you for the tender loving care.
Rinse Off Soapy Residue Thoroughly
Wipe away all soapy residue with a clean, damp microfiber cloth using long, smooth strokes. This prevents streaks and guarantees no cleaning product remains on your cabinets. Work systematically from top to bottom, rinsing your cloth frequently in clean water.
- Use lukewarm water to remove stubborn grease buildup effectively.
- Focus on corners and edges where soap tends to accumulate.
- Apply gentle pressure to avoid scratching delicate cabinet surfaces.
- Check for any missed spots under handles and around hardware.
- Maintain consistent motion patterns to achieve uniform cleanliness.
Thorough rinsing eliminates potential damage from leftover cleaning agents while creating a fresh foundation for your kitchen’s renewed appearance. Your cabinets deserve this careful attention.
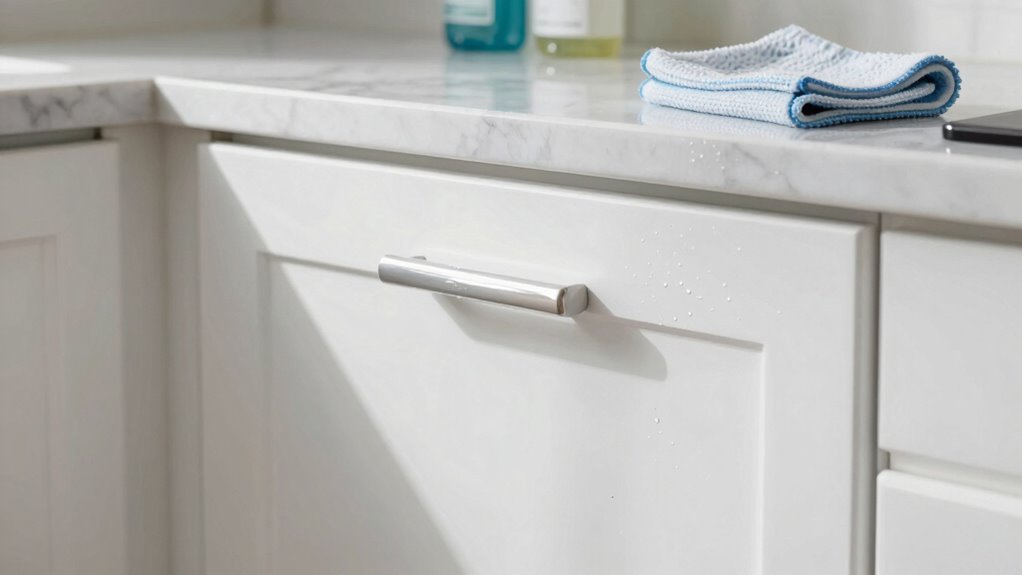
Dry Cabinets to Avoid Water Marks
After rinsing your cabinets clean, immediately dry them with a soft, lint-free cloth to prevent water spots and mineral deposits.
Don’t let moisture air-dry, as this leaves behind unsightly marks. Use gentle, circular motions to absorb excess water efficiently. Microfiber cloths work best since they’re reusable and eco-friendly.
Pay special attention to cabinet corners and hardware areas where water tends to pool. Check that no moisture remains in crevices or grain patterns. If you notice any remaining dampness, use a dry section of your cloth or switch to a fresh one.
Proper drying guarantees your cabinets maintain their natural beauty while preventing damage from mineral buildup. This simple step makes your cleaning efforts last longer and keeps your kitchen looking pristine naturally.
Buff Away Smudges and Restore Finish

You can remove stubborn grease stains naturally using simple ingredients like baking soda and vinegar without harsh chemicals.
Restore your cabinets’ wood grain appearance by buffing with gentle circular motions using a soft cloth. This eco-friendly approach brings back your cabinets’ original luster while avoiding toxic cleaners.
Remove Grease Stains Naturally
While commercial cleaners might seem like the obvious choice, you can effectively remove stubborn grease stains from your kitchen cabinets using simple, natural ingredients that won’t harm your finish or the environment.
You’ll be amazed at how these eco-friendly solutions work:
- Mix equal parts white vinegar and warm water in a spray bottle
- Create a paste using baking soda and lemon juice for tough spots
- Use soft cloth or sponge to gently scrub in circular motions
- Apply cornstarch directly to fresh grease smudges before wiping
- Sprinkle salt on grease buildup then buff with olive oil
These methods protect your cabinets while keeping your home safe for family.
You’re not just cleaning; you’re making responsible choices that benefit everyone.
Restore Wood Grain Appearance
Restore your wood cabinets’ natural beauty by gently buffing away grease smudges and protecting the finish with eco-friendly techniques.
You’ll want to use a soft, lint-free cloth or microfiber towel for this step. Lightly dampen the cloth with warm water and wring it out completely. Avoid soaking the wood, as excess moisture damages the grain.
Gently wipe along the wood grain pattern, following the natural lines of your cabinets. For stubborn smudges, create a paste using baking soda and water. Apply sparingly, then buff immediately with a clean cloth. This removes residue while preserving the wood’s integrity.
Always test cleaning methods on an inconspicuous area first. Your cabinets will regain their lustrous appearance naturally.
Buff With Gentle Circular Motions
Gently buff away persistent smudges and revive your cabinets’ original luster using circular motions that follow the wood’s natural texture.
Your clean, dry cloth should move in small, controlled circles to lift residual oils and fingerprints. This technique helps restore the finish while preventing scratches that harsh scrubbing might cause.
- Use a soft microfiber cloth or old cotton t-shirt
- Apply light pressure while moving in consistent circular patterns
- Focus extra attention on handles and frequently touched areas
- Work systematically across each cabinet surface
- Buff until the wood feels smooth and looks uniformly clean
This eco-friendly approach removes stubborn marks without toxic chemicals, leaving your kitchen cabinets looking refreshed and professionally maintained.
You’re creating a healthier home environment while achieving beautiful results.
Use Microfiber for Streak-Free Results

Microfiber cloths are your best ally for achieving spotless, streak-free cabinets without harsh chemicals. These ultra-fine fibers capture grease and grime more effectively than regular towels while leaving no lint behind. You’ll notice how they glide smoothly across surfaces, lifting stubborn oil buildup with minimal effort.
Choose high-quality microfiber cloths specifically designed for cleaning. Dampen them slightly before wiping down cabinet surfaces, working in straight lines rather than circles. The tiny fibers penetrate crevices other materials miss, ensuring thorough coverage.
Don’t forget to clean your microfiber cloths properly after each use. Wash them in warm water with mild detergent, avoiding fabric softeners that clog fibers. Air dry or tumble dry on low heat to maintain their effectiveness. Replace worn cloths when they lose absorbency.
Your cabinets deserve this gentle yet powerful approach. Microfiber delivers professional results while protecting both your surfaces and family’s health. Make streak-free cleaning your new standard.
Remove Label Glue and Adhesive Remnants
You can remove stubborn label glue and adhesive remnants using natural methods like warm soapy water, baking soda paste, or rubbing alcohol applied with a cloth.
These eco-friendly solutions effectively break down sticky residue without harsh chemicals while you gently scrape away any remaining bits.
Prevent future adhesive buildup by wiping surfaces clean immediately after removing labels and storing items properly.
Natural Adhesive Removal Methods
While tackling greasy kitchen cabinets, removing stubborn label glue and adhesive remnants requires natural solutions that won’t damage your cabinet surfaces or harm the environment. You can effectively eliminate sticky residue using household items you already own.
- Apply warm soapy water with a soft cloth, letting it soak for several minutes before gently scraping with a plastic scraper or old credit card.
- Use olive oil or coconut oil to dissolve adhesive – rub gently with a cloth, then wipe clean with warm water.
- Create a baking soda paste mixed with water, apply to residue, wait five minutes, then scrub gently with a soft brush.
- Spray white vinegar directly onto sticky spots, let sit for ten minutes, then wipe away with a damp cloth.
- Rub lemon juice onto adhesive remnants, let it penetrate for a few minutes, then scrape gently with a plastic tool.
Prevent Future Sticky Residue
Although removing existing adhesive residue is important, preventing future sticky buildup saves time and effort in maintaining clean cabinets. You should wipe down surfaces immediately after cooking to prevent grease accumulation.
Apply a thin layer of coconut oil or olive oil to cabinet fronts monthly, creating a protective barrier against sticky substances. Store oily foods in sealed containers away from cabinet surfaces.
Use reusable silicone mats instead of paper towels for cleaning, reducing waste while maintaining effectiveness. Place small bowls of baking soda inside cabinets to absorb odors and excess moisture that attracts grease.
Regular weekly cleaning with warm water and castile soap prevents heavy buildup. You’ll find that consistent prevention eliminates the need for harsh chemical cleaners, keeping your kitchen naturally fresh while protecting your family’s health.
Prevention creates lasting cleanliness.
Wipe Down Interior Cabinets Near the Cooktop
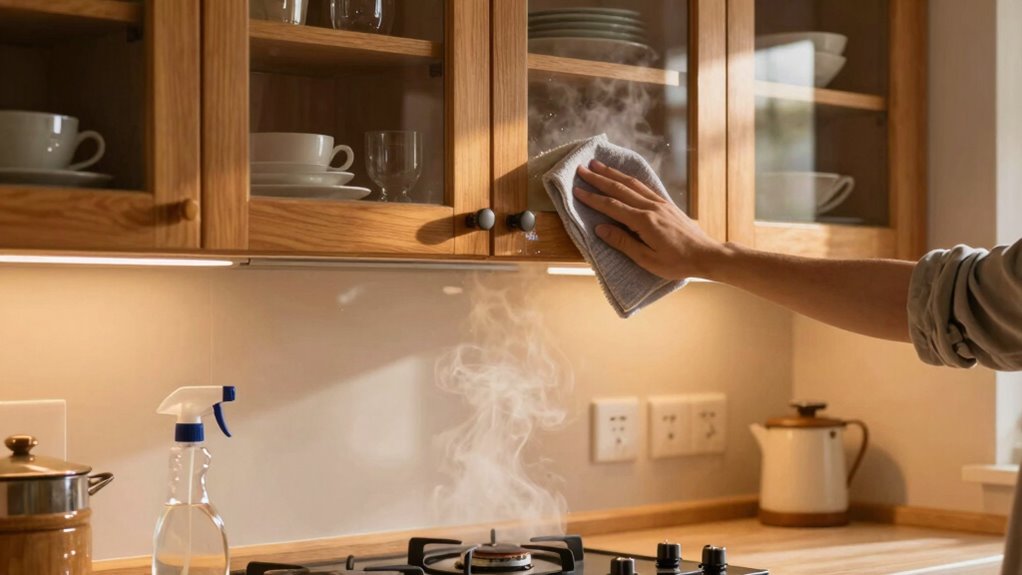
The interior cabinet surfaces closest to your cooktop require special attention since they accumulate the most grease and food splatter.
You’ll want to tackle these areas first because they’re often overlooked during regular cleaning routines.
Grab your microfiber cloth and natural cleaning solution. Focus on wiping down every surface thoroughly. These cabinets deserve extra care since they’re constantly exposed to cooking residues.
- Grease buildup forms quickly on sides and fronts of upper cabinets
- Food particles settle into corners and along cabinet edges
- Oil residue creates sticky films you can’t always see
- Spices and seasonings leave behind stubborn stains over time
- Steam exposure causes grime to bake onto cabinet surfaces
Work systematically from top to bottom.
Don’t forget to check around cabinet handles where grease tends to accumulate unnoticed. Your kitchen community will appreciate knowing their space feels truly clean.
Treat Grease-Splattered Shelves and Drawers
Since grease and food splatter accumulate heavily on cabinet shelves and drawers, you’ll need to remove these components for proper cleaning.
Take everything out and wipe down each piece thoroughly.
Mix warm water with mild dish soap in a bowl. Dip a microfiber cloth into the solution, wring it well, then wipe all surfaces clean.
For stubborn grease buildup, create a paste using baking soda and water. Apply this mixture directly onto greasy areas and let it sit for ten minutes before scrubbing gently with a soft brush.
Rinse everything with clean water and dry completely before reassembling your cabinets. This method effectively removes grime while keeping your kitchen safe and chemical-free.
Wipe Grime From Handles and High-Touch Edges
You’ll need targeted cleaning methods to tackle stubborn grime on cabinet handles and edges where grease builds up fastest.
Natural degreasing solutions like baking soda paste or white vinegar work effectively without harsh chemicals.
Gentle scrubbing techniques with microfiber cloths help lift grease without damaging cabinet finishes.
Targeted Cleaning Methods
Grease and grime accumulate quickly on cabinet handles and edges that see frequent use. You need targeted approaches to tackle these problem areas effectively without harsh chemicals.
Focus your cleaning efforts on these high-traffic zones:
- Wipe handles with a microfiber cloth dampened with warm water
- Clean around hinges where grease nests in tight spaces
- Scrub corner edges where grime builds up unnoticed
- Address the tops of cabinet doors near handles
- Target areas around knobs and pull-tabs specifically
You’ll want to use gentle, circular motions that lift away stuck-on residue.
These spots require extra attention because they’re constantly touched throughout the day. Don’t forget to dry these areas completely after cleaning. Your kitchen will look refreshed and feel more hygienic when you give these frequently-used surfaces the focused care they deserve.
Natural Degreasing Solutions
Natural cleaning agents can effectively cut through built-up grime on cabinet handles and frequently touched surfaces without relying on harsh chemicals.
You should try mixing equal parts white vinegar and warm water in a spray bottle for a powerful degreasing solution. Baking soda paste works wonders on stubborn grease spots when you need extra cleaning power.
Lemon juice combined with salt creates a natural abrasive that cuts through油腻 residue while leaving a fresh scent. Rub these solutions onto handles and edges where grease accumulates most.
You’ll discover that common household items transform into effective cleaning tools. These natural alternatives save money while protecting your family’s health.
Your kitchen will sparkle without exposing loved ones to toxic fumes. Eco-friendly cleaning becomes second nature when you see how well these simple ingredients work together.
Gentle Scrubbing Techniques
While wiping down cabinet handles and edges might seem straightforward, using proper scrubbing techniques makes the difference between a surface that merely looks clean and one that’s truly sanitized.
You’ll want to focus on these key areas where grease and bacteria accumulate most.
- Use a soft-bristled brush to work cleaning solution into crevices around handles and hinges.
- Apply gentle circular motions with a microfiber cloth to lift embedded grime without scratching.
- Target sticky spots with a toothbrush dipped in baking soda paste for extra cleaning power.
- Wipe along wood grain or surface patterns to avoid damaging finished materials.
- Finish with a damp cloth to remove any residue, then dry immediately with a clean towel.
These mindful techniques guarantee your cabinets aren’t just visually clean but hygienically fresh.
Preserve Wood Finishes After Deep Cleans
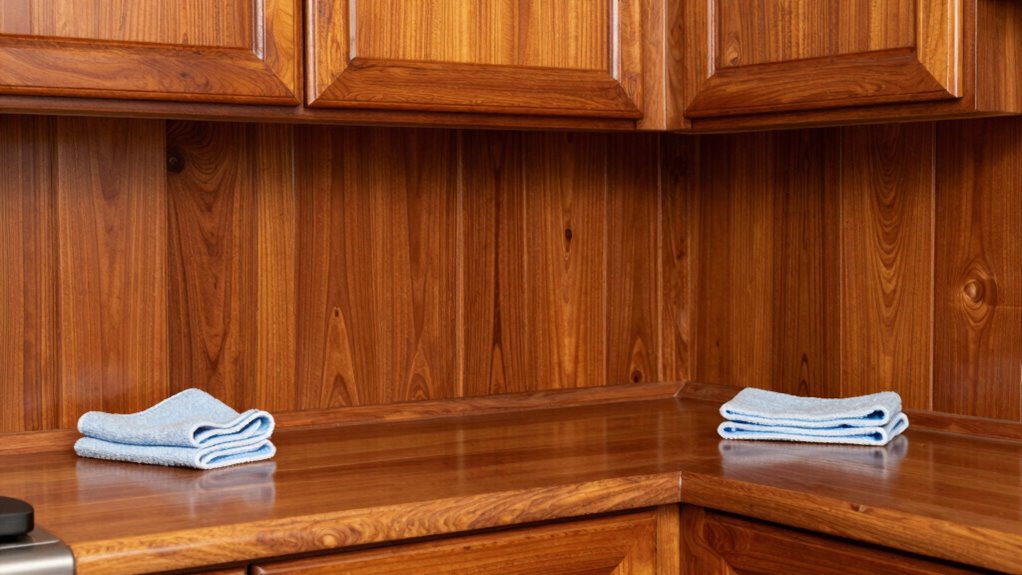
After you’ve tackled the tough grease buildup on your wooden cabinets, preserving the finish becomes essential to maintain their appearance and longevity.
You should immediately dry cabinets with a clean, soft cloth to prevent water spots. Apply a small amount of natural beeswax or olive oil to a cloth and gently buff the surface in circular motions. This creates a protective barrier while nourishing the wood.
Avoid harsh chemicals or excessive moisture that can strip finishes. Test any preservation method on an inconspicuous area first. You’ll want to repeat this process monthly to maintain the luster.
Regular maintenance prevents costly refinishing projects later. Your cabinets will retain their beauty while contributing to a healthier home environment free from toxic chemicals.
Prevent Future Grease Film Naturally
Since you’ve invested time deep cleaning your greasy cabinets, preventing future buildup naturally will save you significant effort while maintaining a healthier kitchen environment.
You’ll appreciate these simple, effective methods that keep your space fresh without harsh chemicals.
- Wipe surfaces weekly with a microfiber cloth and warm water
- Apply a monthly coat of beeswax polish to create a protective barrier
- Use lemon oil on wooden cabinets for natural cleaning and shine
- Place activated charcoal bags inside cabinets to absorb odors and oils
- Install under-cabinet lighting to spot-clean spills immediately
These eco-friendly habits become second nature quickly.
You’ll notice your kitchen stays cleaner longer while avoiding toxic residues. Your family breathes easier, and you’ll feel proud knowing your prevention methods align with natural living principles.
Simple maintenance beats heavy cleaning every time.
Store Daily Items Without Attracting Oil
Storing your daily kitchen items properly prevents oil attraction and buildup on cabinet surfaces. You should organize frequently used oils, sauces, and cooking sprays in designated areas away from cabinet doors and handles.
Use glass containers with tight-fitting lids instead of plastic bottles that leak residue. Store dry goods like flour and sugar in airtight containers to prevent moisture absorption that attracts grease particles.
Position your most-used items at eye level where you can easily access them without constantly opening and closing cabinet doors. Keep a small tray or mat inside cabinets storing oily products to catch any drips.
You’ll maintain cleaner cabinet surfaces longer while creating an organized kitchen space that feels familiar and welcoming every time you cook.
Decide When to Refinish or Replace Cabinets
When should you consider refinishing or replacing your greasy kitchen cabinets instead of continuing deep cleaning efforts? Sometimes cleaning isn’t enough to restore your kitchen’s heart. You need to recognize when deeper intervention becomes necessary for lasting results.
Consider these signs that indicate it’s time to move beyond cleaning:
- Persistent stains penetrate deep into wood grain despite repeated cleanings
- Cabinet doors warp, split, or lose their structural integrity from years of grease exposure
- Hardware strips out repeatedly because mounting points are compromised
- Original finish has worn away completely, leaving bare, unsightly surfaces
- Your cabinet layout no longer meets your family’s cooking and storage needs
Refinishing breathes new life into tired cabinets while replacing them offers complete transformation. Both paths create welcoming spaces where memories flourish.
Conclusion
Grease buildup on kitchen cabinets happens faster than you think—studies show that cooking oils can accumulate up to 40% more quickly in high-traffic kitchens. You’ve learned how to tackle this naturally using vinegar, baking soda, and proper techniques. By removing hardware, dusting first, and using eco-friendly cleaners, you’re not just cleaning effectively, you’re protecting your family’s health and the environment while extending your cabinets’ lifespan.
")