You’ll want to start by clearing everything out, checking expiration dates, and grouping similar items together. Clean your shelves thoroughly before you begin restocking. Organize items into categories and use risers to maximize vertical space. Create designated zones for different food types. Establish a weekly grocery system and maintenance routine to prevent future clutter. This systematic approach will transform your pantry chaos into organized efficiency. Ready to discover how this method saves you time and reduces food waste?
Start Small: Decide If You Need a Full Pantry Reset
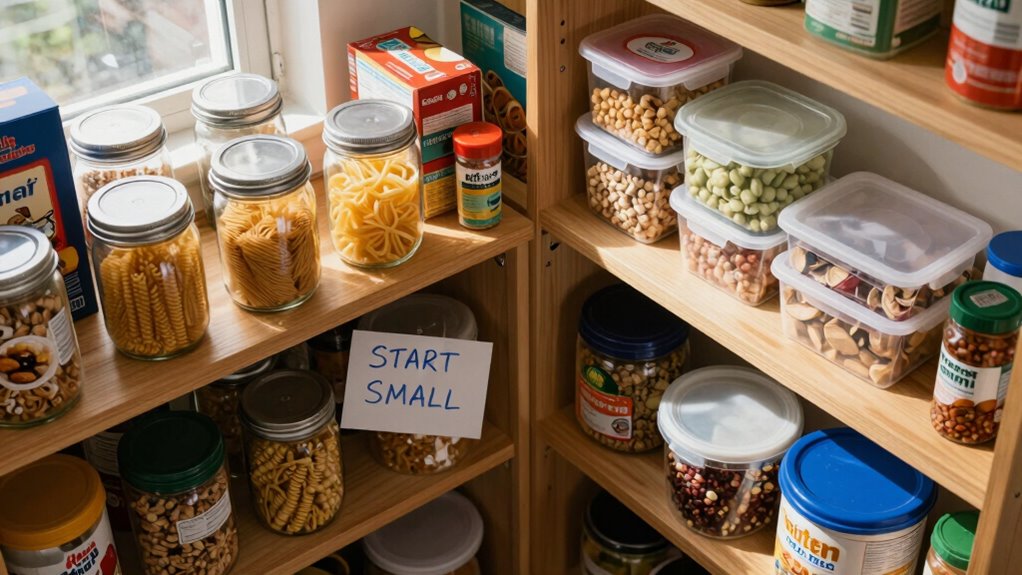
Before you plunge into a complete pantry overhaul, assess whether your situation warrants a full reset or if a smaller organizing project will suffice. Take ten minutes to evaluate your current setup. Count how many items are genuinely expired or unusable.
Notice if your spices are scattered everywhere or if you’re constantly buying duplicates because you can’t find what you need. A full reset makes sense when everything feels chaotic, expired items outnumber usable goods, or you lack basic organization systems.
You’ll know you need a complete restart when finding ingredients takes longer than preparing meals. However, if only certain sections bother you, like just the cereal aisle or spice rack, focus there first.
Starting small builds momentum while preventing overwhelm. You belong in a kitchen where finding ingredients feels effortless, not frustrating.
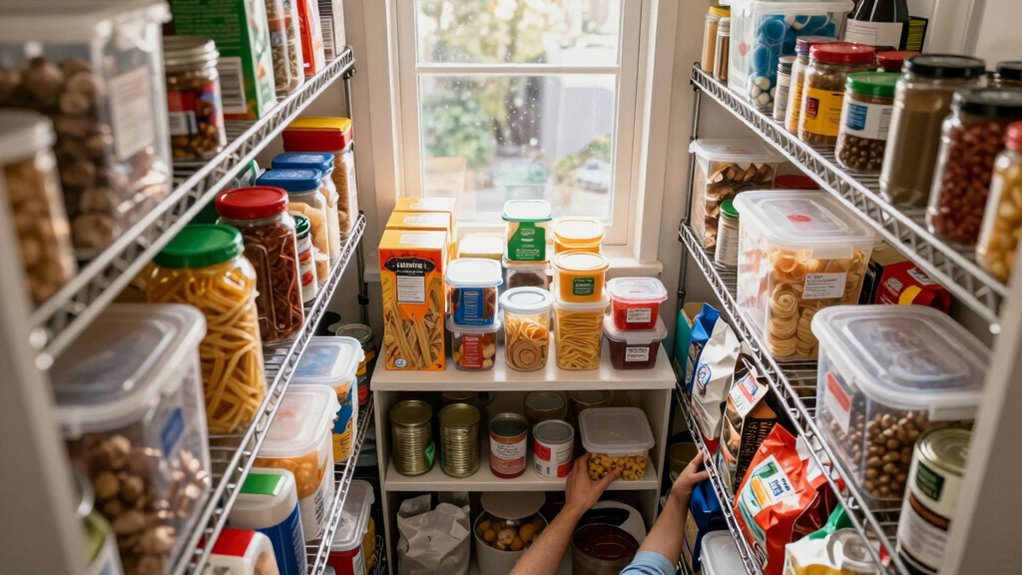
Clear Out Entire Messy Pantry First
Take everything out of your pantry systematically, one shelf at a time.
Start from the top and work your way down to avoid making a bigger mess. Remove all items completely, including spices, cans, boxes, and bags.
Don’t just move things around – you need a clean slate to work with. Place items on your kitchen counter, dining table, or floor where you have space.
Keep similar items together as you remove them. Clear off every shelf, bracket, and corner. Remove any removable shelves for better access.
Take down all hooks and organizers. Wipe down each shelf with a damp cloth while empty.
This complete clearance gives you the fresh start you deserve and helps you see exactly what you’re working with.
Sort Through Items and Toss Expired Food

Now that your pantry is completely empty, it’s time to sort through every item and discard anything that’s expired or no longer usable.
Check expiration dates on all packaged foods, canned goods, and spices.
Don’t forget to inspect items you might’ve forgotten about – those tucked away in boxes or behind other products.
Sniff oils, nuts, and grains for rancidity.
Examine canned goods for dents, rust, or swelling.
Toss anything moldy, stale, or past its prime.
Be ruthless – you deserve a pantry filled with fresh, quality items you’ll actually use.
Create a discard pile for expired items and a donation pile for unopened, non-expired goods you won’t consume.
This ruthless approach guarantees you’re starting fresh with reliable ingredients.
Group Pantry Items Into Smart Categories
Once you’ve sorted through your pantry items and removed expired goods, you’ll want to group remaining items into logical categories that make sense for your cooking habits.
Start by separating items you use daily from occasional cooking supplies. Create clusters like baking essentials, canned goods, pasta and grains, snacks, and breakfast items.
Group spices and seasonings together near your cooking oils and vinegars. Place cooking tools with related ingredients – keep measuring cups near flour and sugar.
Organize by frequency of use, putting everyday items at eye level and seasonal goods higher or lower. Consider your family’s eating patterns when deciding which categories work best.
This systematic approach guarantees everything has its place and you can quickly find what you need.
Clean All Shelves Thoroughly Before Restocking
A clean pantry starts with spotless shelves, so grab your cleaning supplies and prepare to wipe down every surface before placing items back.
Remove everything from each shelf and discard expired products first.
Mix warm water with mild dish soap in a bucket. Use a microfiber cloth or sponge to scrub each shelf systematically from top to bottom.
Pay special attention to corners and edges where crumbs accumulate. Rinse with a damp cloth to remove soap residue.
Let shelves air dry completely before restocking.
This thorough cleaning prevents contaminating fresh items with old residue. You’ll create a fresh foundation that makes your organized pantry feel welcoming and hygienic for everyone who uses it.
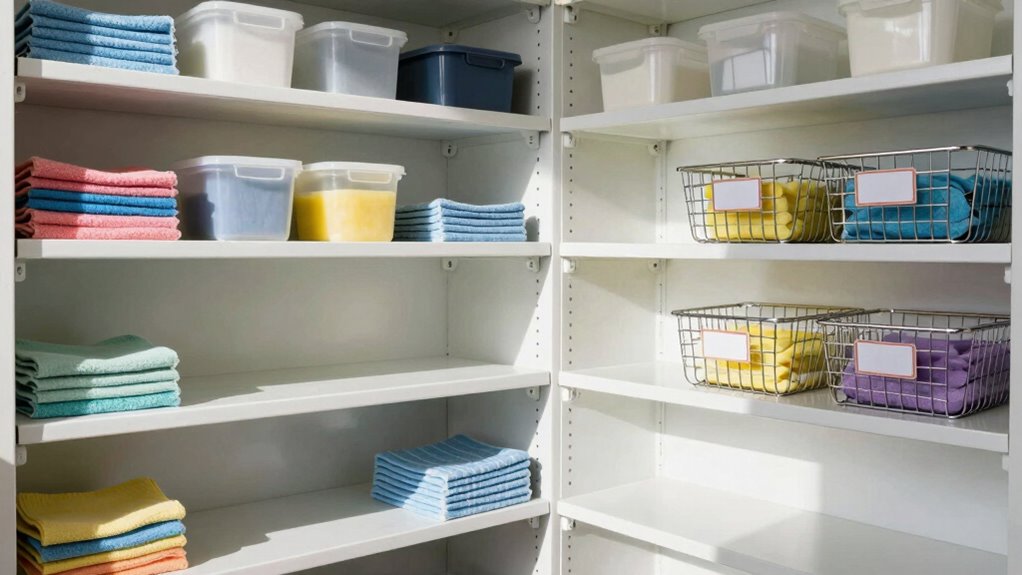
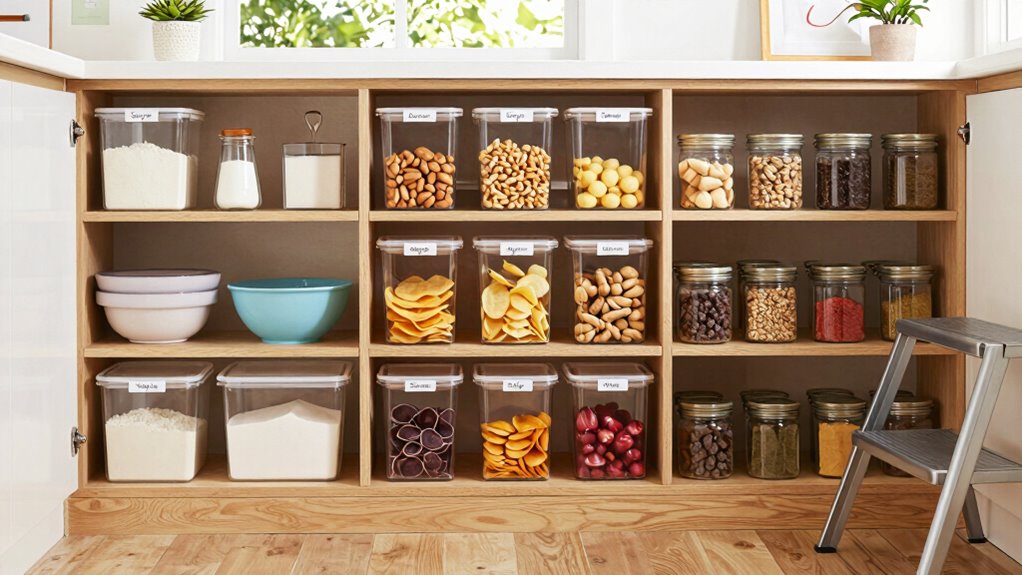
Pick Containers That Stack and Label Everything
You should choose containers that fit your pantry dimensions and stack securely without crushing bottom items.
Label every container clearly with contents and expiration dates using a consistent system. This approach maximizes space while ensuring you can quickly identify what you need.
Stackable Container Selection
When selecting containers for your pantry, prioritize stackable options that maximize vertical space while maintaining easy access to your stored items.
Choose uniform-sized containers that fit your shelf dimensions perfectly. Clear plastic containers work best because you can quickly identify contents without opening them. Opt for containers with airtight lids to preserve food freshness and prevent spills.
Consider square or rectangular shapes over round ones to eliminate wasted space between containers. Stack heavier items on bottom shelves and lighter ones above. Confirm each container has a flat top surface to create stable stacking arrangements.
Select materials that are durable and easy to clean. Glass containers offer longevity, while plastic provides lightweight convenience.
Measure your pantry shelves before purchasing to assure proper fit and maximum storage efficiency.
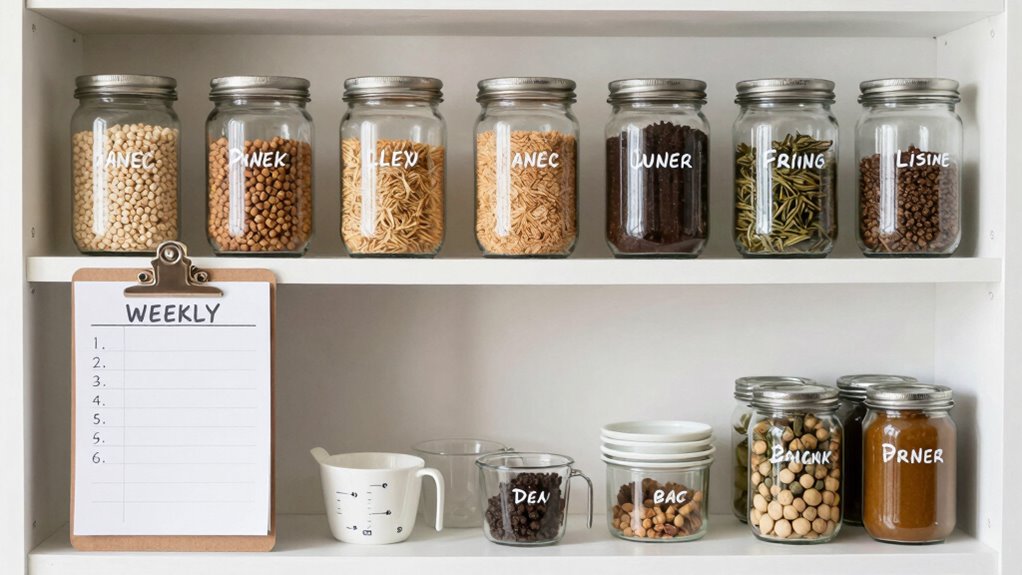
Labeling System Setup
While organizing your pantry, establishing a clear labeling system guarantees you can quickly locate items and maintain order.
Choose containers that stack efficiently to maximize vertical space. Label everything immediately after filling containers – don’t skip this step. Use a consistent labeling method throughout your pantry for uniformity.
Clear labels work best on transparent containers, while opaque containers need visible labels on front surfaces. Include expiration dates and contents on every label. Position labels at eye level for easy reading.
Group similar items together and label sections clearly. Your future self will appreciate knowing exactly where ingredients belong.
A systematic labeling approach prevents confusion and maintains the organized system you’ve worked hard to create. Stick to your labeling strategy consistently.
Place Frequently Used Items at Eye Level
For ideal accessibility and efficiency, place your most frequently used items at eye level within your pantry. This strategic positioning eliminates unnecessary bending or stretching, making daily meal preparation smoother.
You’ll want to position staples like cooking oil, favorite spices, and commonly used canned goods where you can easily see and reach them. Keep breakfast cereals, coffee, and tea at eye level too.
This approach reduces time spent searching and prevents items from getting overlooked or expired. Your daily routine becomes more streamlined when everything you need regularly sits comfortably within your direct line of sight.
Use Every Shelf Level Efficiently
Now that you’ve positioned your most used items at eye level, maximize efficiency by utilizing every shelf space effectively.
Stack items strategically, placing heavier containers on lower shelves where they’re more stable. Use vertical space by installing additional shelving if needed. Group similar items together rather than scattering them randomly.
Don’t forget about door storage – it’s perfect for spices or small packets. Clear containers help you see contents quickly while maintaining organization. Label everything clearly so anyone in your household can easily locate items.
Keep seasonal or rarely used products on higher shelves. Store bulk items like rice or pasta in airtight containers to prevent pests. Make sure frequently accessed areas remain uncluttered for daily convenience.
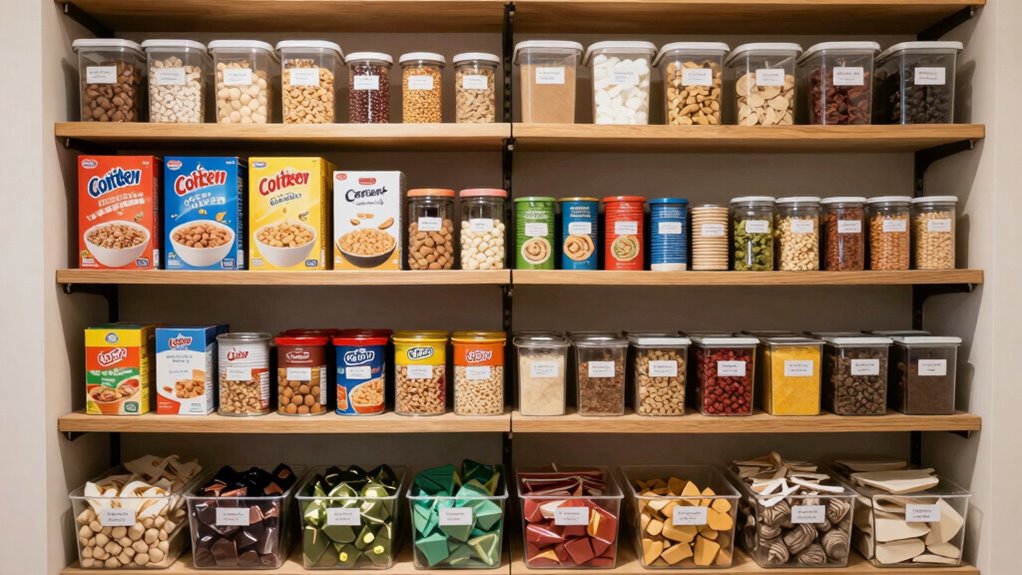
Set Up Zones for Baking, Snacking, Spices
After you’ve optimized your shelf levels, create designated zones for baking supplies, snacks, and spices to streamline your pantry organization.
Start by grouping similar items together—flour, sugar, and baking powder belong near each other.
Place frequently used snacks like chips and crackers in easy-reach areas.
Keep spices organized alphabetically or by cuisine type.
Assign specific shelves or sections to each zone rather than mixing everything randomly.
This systematic approach saves time when cooking or snacking. You’ll know exactly where to find what you need without rummaging through chaotic shelves.
Zone organization creates belonging and efficiency in your pantry space.
Add Risers and Rearrange Shelves for More Storage
You can maximize your pantry’s vertical space by adding risers and adjusting shelf heights to create multiple storage levels.
Start by measuring your tallest items and setting risers on lower shelves to double your storage capacity.
This systematic approach lets you optimize every inch while keeping frequently used items at eye level.
Maximize Vertical Space
When you install shelf risers and reorganize your existing shelves, you’ll immediately gain valuable vertical storage space in your pantry.
Start by measuring your shelf depth and purchasing risers that fit perfectly. Stack cans, jars, and boxes on risers to double your storage capacity. Move frequently used items to eye-level shelves for easy access.
Place heavier items on lower shelves to maintain stability. Rearrange shelves to create uniform spacing that accommodates your tallest items. Use every inch by installing risers on multiple shelf levels.
You’ll discover hidden space between existing shelves that’s perfect for spices or small containers. This systematic approach maximizes your pantry’s potential while keeping everything visible and accessible.
Create Tiered Storage Levels
Building on the vertical space maximization from the previous step, creating tiered storage levels takes your pantry organization to the next level.
You’ll add risers and adjustable shelving to create multiple storage zones within the same footprint. Start by placing sturdy risers on existing shelves, ensuring they’re level and secure. These elevated platforms allow you to stack items while maintaining easy access.
Rearrange your current shelves to accommodate different container heights. Position frequently used items on easily reachable tiers. Utilize stackable bins and baskets on risers for small items like spices or snack packets.
This systematic approach maximizes every inch while keeping similar items grouped together. You’re creating an organized system that works with your daily routine, making meal preparation more efficient.
Optimize Shelf Heights
Adjustable shelving transforms your pantry’s storage capacity by creating customized spaces for items of varying heights.
You’ll maximize every inch by adding risers and rearranging shelves to fit your specific needs.
- Tall items like cereal boxes and bottles – Store these on bottom shelves where they won’t topple over
- Medium-height items such as canned goods – Perfect for eye-level shelves where you can easily see inventory
- Small items like spices and snacks – Keep these on higher shelves or use risers to create double-stacked storage
Move shelves closer together for smaller items and spread them apart for bulkier products.
Install risers on existing shelves to create additional storage layers.
This systematic approach guarantees everything has its place while making the most of your pantry’s vertical space.
Create a Weekly Grocery Inflow System
Because you’ve already sorted and categorized your pantry items, creating a weekly grocery inflow system guarantees new purchases integrate seamlessly with existing inventory.
Designate specific zones for incoming groceries before shopping. Reserve designated shelves or containers for new items. Label areas clearly so family members know where things belong.
Establish a routine: unpack groceries immediately upon returning home. Check expiration dates before putting items away. Rotate older stock forward, placing newer purchases behind them.
Group similar items together as you unload bags. This systematic approach prevents accumulation of unorganized products. Your organized pantry maintains its structure because everything has a predetermined home.
You’ll spend less time searching for items and avoid duplicate purchases. This method becomes second nature, making pantry management effortless while ensuring nothing gets forgotten or misplaced.
Make Weekly Checks to Keep It Neat
While you’ve established a solid pantry organization system, maintaining it requires consistent attention through weekly checks that prevent mess from accumulating. You should schedule thirty minutes every Sunday to inspect your pantry thoroughly.
- Rediscover forgotten treasures – You’ll find expired items you completely forgot about, preventing food waste and saving money.
- Feel accomplished and in control – Seeing your organized space stay pristine gives you confidence and reduces daily stress.
- Create lasting healthy habits – Regular maintenance becomes automatic, freeing up mental energy for other priorities.
Check expiration dates, wipe down shelves, and guarantee everything stays in its designated spot. Move items that have migrated during the week back to their proper locations.
This systematic approach keeps your pantry functioning smoothly while reinforcing your organizational success.
Prevent Future Pantry Clutter Automatically
Preventing future pantry clutter starts with establishing automatic systems that require minimal effort to maintain.
You’ll want to create designated zones for similar items, making everything easy to locate and return. Install clear labels on all containers and shelves so anyone in your household can participate.
Set up a simple rule: when you take something out, immediately return it to its designated spot. Keep a donation box nearby for items you won’t use, preventing accumulation.
Schedule monthly inventory checks to rotate stock and identify expired products. Store frequently used items at eye level for quick access.
Use uniform containers and baskets to maximize space while maintaining visual consistency. These habits become second nature quickly, ensuring your pantry stays organized without constant effort.
Conclusion
You think organizing your pantry will solve everything, don’t you? Here’s the irony: the real test isn’t how perfect it looks today, but whether you’ll actually maintain it. That weekly check? It’s not busywork—it’s prevention. Skip it, and you’re back to square one. The system works, but only if you do.
")