Sarah rearranged her kitchen counters last month and cut her meal prep time in half. You can achieve similar results by evaluating your current workflow and identifying bottlenecks. Start by mapping out your most frequent cooking tasks and observing where you waste time reaching for tools or ingredients. This initial assessment reveals exactly what changes will make your kitchen more efficient.
Define What Makes a Kitchen Productive
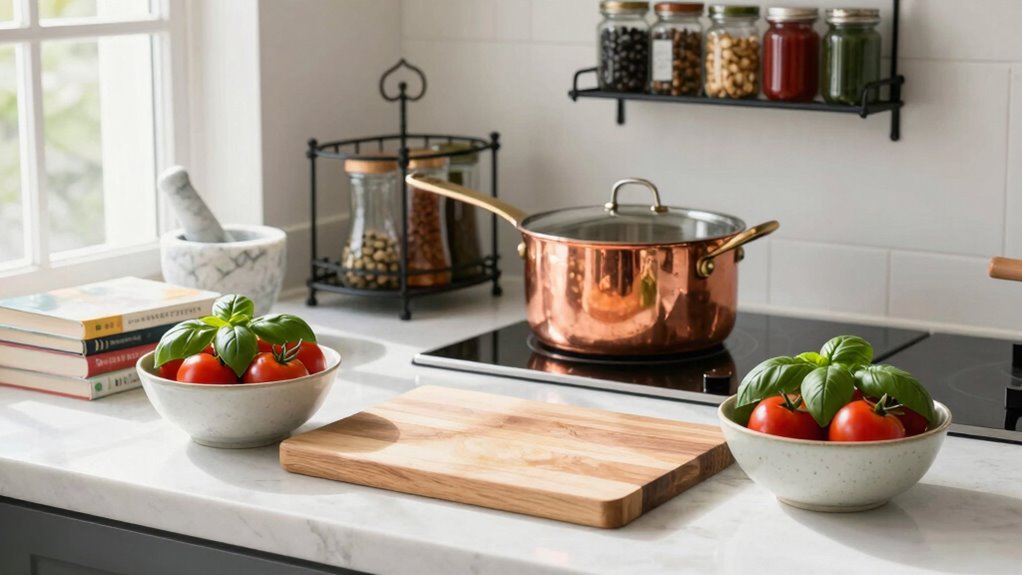
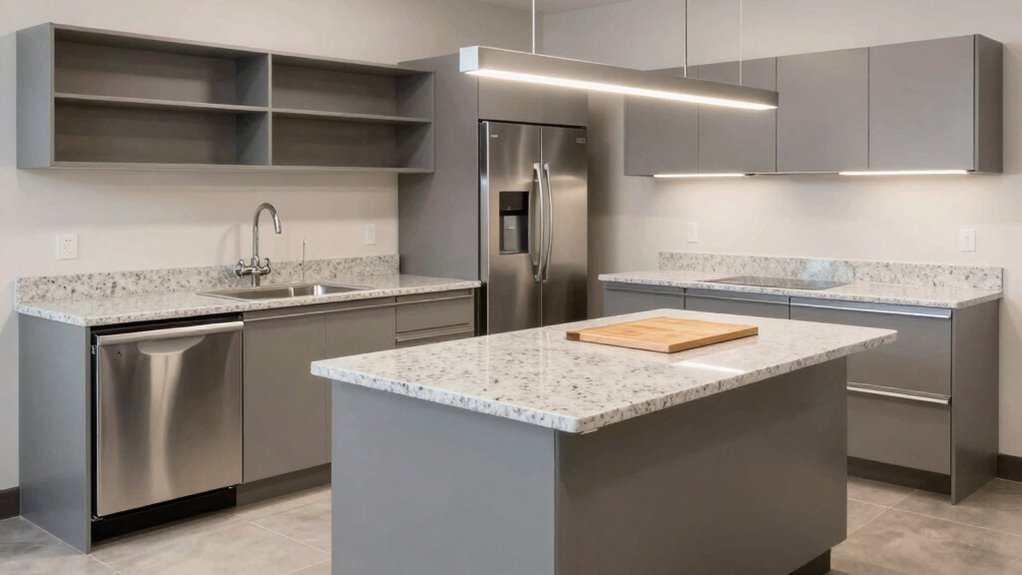
A productive kitchen workspace centers around three core elements: efficient layout, proper storage, and adequate lighting.
You need clear pathways between your sink, stove, and refrigerator to move efficiently while cooking. Your storage should keep frequently used items within easy reach, organized logically by function and frequency of use.
Proper lighting eliminates shadows where you chop and prep, combining overhead and task lighting effectively.
You’ll feel more confident and capable when everything has its place and purpose. A productive kitchen reduces stress, saves time, and makes meal preparation enjoyable rather than frustrating.
These fundamentals create belonging in your space, making you feel like you truly own your kitchen workflow.
Find Where You Work Best in Your Kitchen
Where do you naturally gravitate when you enter your kitchen? Pay attention to where you instinctively move first – maybe it’s the coffee maker, the refrigerator, or the cutting board area. This spot reveals your primary workflow zone.
Observe your daily routines systematically. Notice which areas you use most frequently and which tasks you perform naturally near specific appliances or surfaces. Your kitchen’s sweet spot isn’t necessarily the center island or designated prep area – it’s wherever you feel most comfortable and efficient.
Consider your height and mobility patterns. Do you prefer standing or sitting while working? Which zones allow you to move freely without obstruction?
Your ideal workspace should feel intuitive and effortless, supporting your natural movements and cooking style consistently.
Set Up Your Most Essential Tools First
Now that you’ve identified your natural workflow zone, focus on placing your most frequently used items within easy reach. This strategic placement creates belonging in your kitchen space while maximizing efficiency.
- Primary cutting tools – Keep your chef’s knife and cutting board within arm’s reach of your prep area. You’ll feel more connected to your cooking process when these essentials are instantly accessible.
- Go-to pots and pans – Position your most-used skillet and saucepan near your stove. This eliminates unnecessary movement and maximizes efficiency in your cooking process.
- Spices and condiments – Store frequently used seasonings on a shelf or rack that’s easy to reach from your cooking space. Having these items organized will save time and enhance your cooking experience.
- Utensils – Keep cooking utensils such as spatulas, tongs, and wooden spoons in a countertop container or drawer near your stove. This ensures you have quick access to the tools you need while cooking.
- Baking essentials – If you enjoy baking, find a dedicated space for your measuring cups, spoons, and mixing bowls. Keeping these together makes transitions easier when shifting from savory to sweet dishes.
Build the Perfect Efficiency Triangle
Once you’ve positioned your most essential tools within reach, you can begin building the perfect efficiency triangle — a strategic layout that connects your prep area, cooking zone, and cleanup station in one seamless workflow.
Start by identifying these three core zones in your kitchen. Your prep area should house cutting boards, knives, and mixing bowls. Position your cooking zone around the stove and oven, keeping pots, pans, and cooking utensils nearby. Your cleanup station needs proximity to the sink, with dishware, towels, and cleaning supplies within arm’s reach.
Arrange these zones in a triangular formation, minimizing steps between each area. This layout creates belonging through efficiency, making you feel confident and capable in your workspace.
Zone Off Spaces by Cooking Task Type
Building on the efficiency triangle you’ve established, you can further refine your kitchen workflow by designating specific areas for different cooking tasks.
This strategic zoning creates a sense of belonging in your workspace while maximizing productivity.
- Prep Zone: Position your cutting board, knives, and mixing bowls near the sink for efficient ingredient washing and chopping workflow.
- Cooking Zone: Keep pots, pans, and cooking utensils within arm’s reach of your stove to maintain seamless meal preparation momentum.
- Baking Zone: Store measuring cups, mixing bowls, and baking sheets together in cabinets near your countertop workspace for organized dessert creation.
- Cleanup Zone: Place dish soap, sponges, and drying mats beside your sink for streamlined post-meal tidying that keeps your kitchen feeling like home.
Clear and Declutter Your Counter Space
When you establish designated zones for different cooking tasks, clearing and decluttering your counter space becomes vital for maintaining workflow efficiency.
Start by removing everything from your counters, then sort items into categories: daily essentials, occasional tools, and rarely-used appliances. Keep only what you use daily within easy reach. Store backup items in cabinets or drawers.
Wipe down surfaces completely. Organize remaining items by frequency of use, placing most-needed tools in your primary work zones. Create clear boundaries between prep, cooking, and cleaning areas.
Remove decorative items that don’t serve functional purposes. Your counters should feel open and ready for food preparation.
This systematic approach guarantees you’ll find what you need quickly while maintaining an organized workspace that supports efficient cooking routines.
Use Shelves and Walls Smartly for Storage
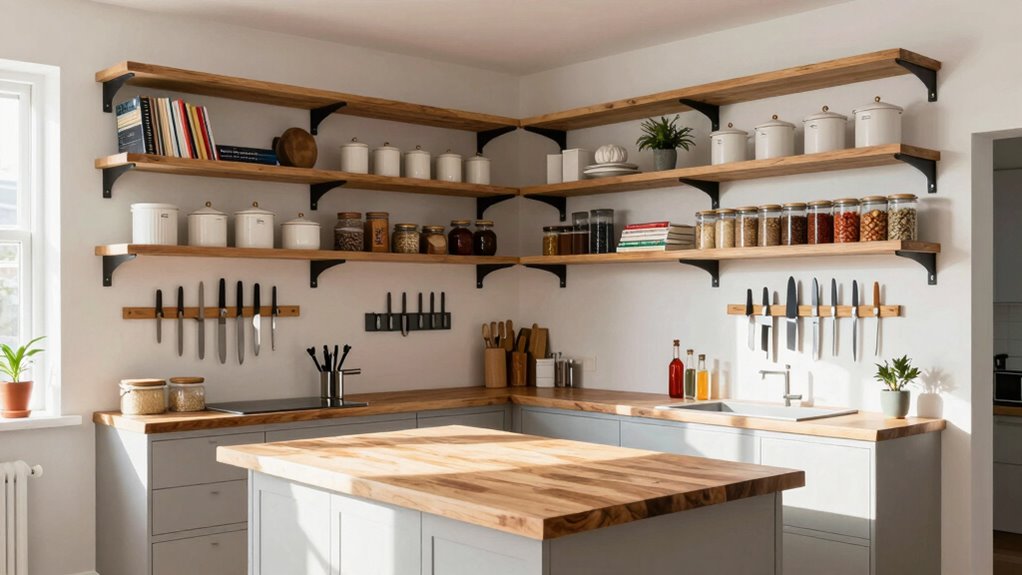
You should maximize vertical space by installing shelves from floor to ceiling, ensuring no wall area goes unused.
Organize frequently used items at eye level and within easy reach, while storing less-used items on higher or lower shelves.
Install adjustable shelving systems that let you customize spacing based on your specific kitchen items and changing storage needs.
Maximize Vertical Space
Installing shelves and utilizing wall space effectively transforms your kitchen’s storage capacity while keeping countertops clear for food preparation.
You’ll create a more organized environment that feels like it belongs to you.
- Install tall cabinets reaching toward the ceiling to store seldom-used items like holiday dishes or backup supplies.
- Mount magnetic knife strips on walls to keep frequently-used knives accessible while saving drawer space.
- Add pegboards for hanging measuring cups, ladles, and small appliances neatly within reach.
- Use stackable shelf risers inside existing cabinets to double your vertical storage without taking up floor space.
These solutions make your kitchen work smarter, not harder.
Organize Frequently Used Items
Maximizing vertical space naturally leads to better organization of your most-used kitchen tools.
You should place frequently accessed items at eye level and within arm’s reach. Store your everyday dishes, glassware, and cooking utensils on easily accessible shelves.
Mount wall racks above counters to hold spices, oils, and condiments you use daily. Install hooks for frequently used tools like measuring cups, ladles, and pot holders.
Keep your most-used appliances on counter space rather than storing them away. Arrange items by frequency of use, with daily necessities at prime locations.
This systematic approach guarantees you spend less time searching and more time cooking, creating a kitchen workspace that truly belongs to your efficient cooking routine.
Install Adjustable Shelving
When organizing your kitchen workspace, adjustable shelving transforms unused vertical space into highly functional storage areas that adapt to your specific needs.
You maximize every inch while creating a personalized system that grows with your cooking habits.
- Measure your wall space and choose sturdy brackets that support your heaviest items like cookbooks and spices.
- Install shelves at varying heights to accommodate different sized containers, plates, and jars you use daily.
- Group similar items together – baking supplies on one shelf, canned goods on another – so everything has its designated home.
- Leave some empty space between items for easy access and future additions, preventing overcrowding that creates chaos.
Adjustable shelving isn’t just storage; it’s your kitchen’s backbone, supporting your unique culinary journey while keeping everything within reach.
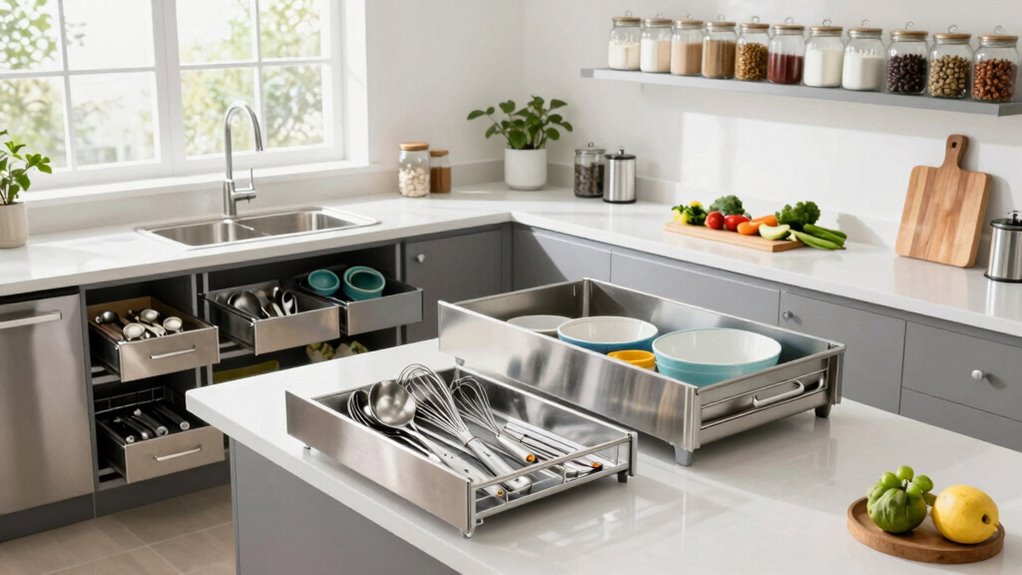
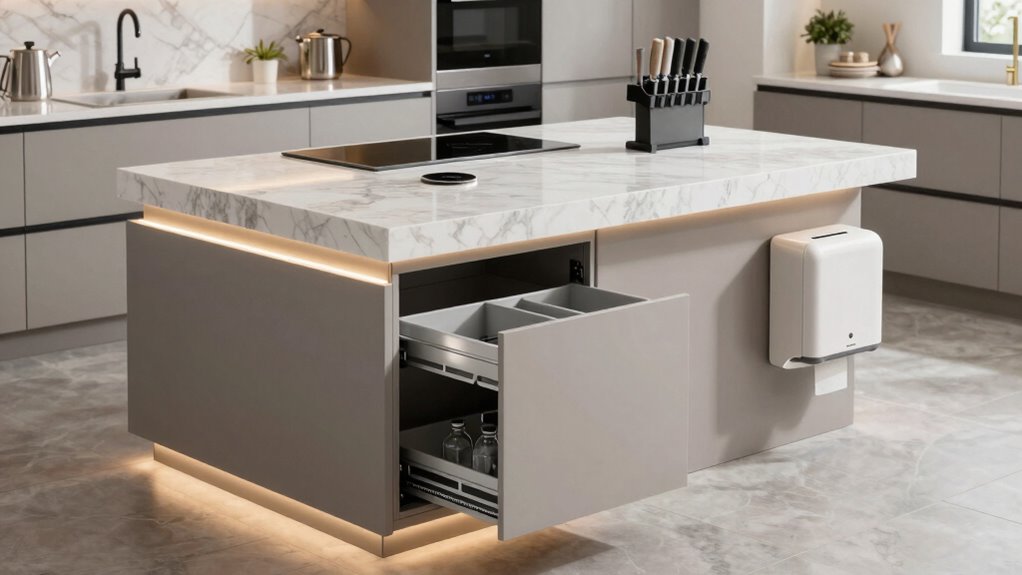
Sort Everything With Smart Drawer Dividers
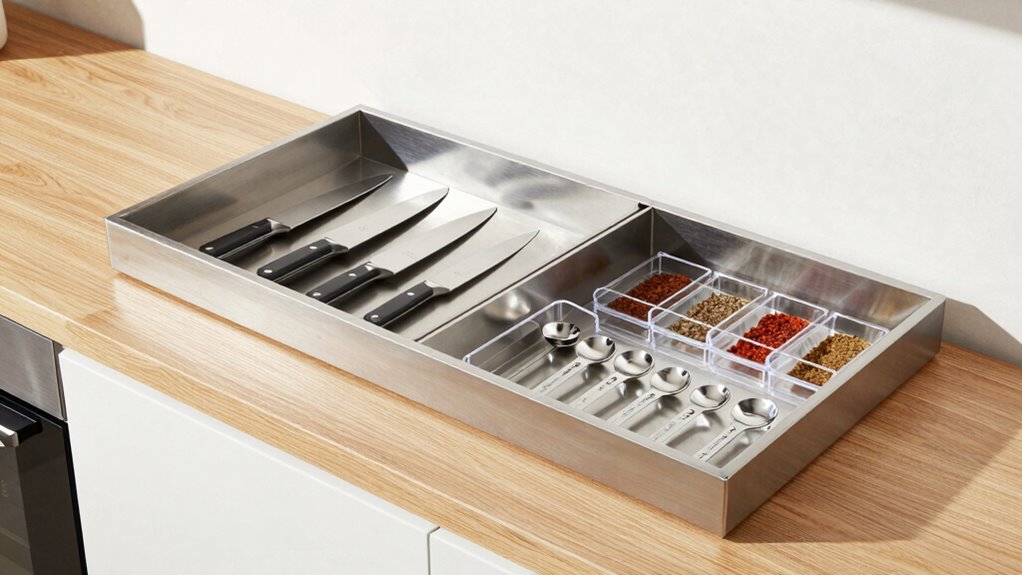
Everyone benefits from organized drawers, and smart dividers make this simple to achieve.
You’ll want to assess your drawer contents first, grouping similar items together. Measure your drawer dimensions carefully before purchasing dividers that fit perfectly.
Install adjustable dividers for utensils, creating separate sections for forks, knives, and spoons. Use smaller compartments for measuring tools, bottle openers, and specialty items. Create designated spaces for food prep tools like peelers, can openers, and mixing accessories.
Don’t forget to organize your spice collection with narrow dividers that keep jars upright and visible. Label sections if needed, especially for shared kitchen spaces.
Regular maintenance keeps everything functioning smoothly.
Keep Your Go-To Gear Easily Accessible
You should organize frequently used items in easy-reach locations so you don’t waste time searching during meal prep.
Store your essential tools nearby by placing them in designated spots close to your main work areas.
Create quick-access zones for items you use daily, keeping everything within arm’s reach for maximum efficiency.
Organize Frequently Used Items
Since your most-used tools should be within arm’s reach, organizing frequently used items becomes the foundation of an efficient kitchen workspace.
You’ll streamline cooking processes and reduce unnecessary movement when everything has its designated spot.
- Identify your daily essentials – Determine which tools you use for morning coffee, meal prep, and snacks.
- Create convenient zones – Group similar items together near where you use them most.
- Prioritize accessibility – Place frequently grabbed items at eye level or within easy reach.
- Maintain consistency – Keep items in their assigned locations so muscle memory develops.
This systematic approach eliminates frantic searches and creates rhythm in your cooking routine.
When your favorite knife, cutting board, and go-to spices have permanent homes, you’ll feel more connected to your kitchen space and confident in your culinary abilities.
Store Essential Tools Nearby
Whether you’re whipping up a quick breakfast or preparing an elaborate dinner, keeping your essential tools within arm’s reach transforms your cooking experience from frustrating to fluid.
You should identify your most-used items: chef’s knife, cutting board, spatula, mixing bowls, and measuring cups. Store these in drawers or shelves closest to your primary workspace.
Keep your favorite spices in small containers near the stove. Position frequently-used pans in easy-to-reach cabinet spaces.
Don’t bury your go-to gadgets in crowded utensil holders. Instead, create designated spots for each tool.
This systematic approach eliminates time wasted searching through cluttered drawers. You’ll develop muscle memory for tool placement, making cooking feel natural and effortless.
Your kitchen becomes an extension of your intentions when everything you need lives exactly where you expect it.
Create Quick-Access Zones
Building on the idea of keeping frequently-used items close at hand, creating dedicated quick-access zones takes organization to the next level.
You’ll streamline your cooking process by grouping tools based on frequency and function.
- Daily essentials zone – Keep knives, cutting board, and prep bowls within arm’s reach of your main work area.
- Cooking station – Position pots, pans, and cooking utensils near the stove for seamless meal preparation.
- Baking corner – Store measuring cups, mixing bowls, and ingredients together for efficient baking sessions.
- Cleanup area – Place dish soap, sponges, and drying rack near the sink for quick post-cooking cleanup.
These strategic zones eliminate wasted movement and create belonging in your kitchen workspace.
Brighten Key Spots for Safer Handling
Proper lighting makes a significant difference in your kitchen workspace safety and efficiency. You should install bright LED lights directly above your cutting board and prep areas.
Under-cabinet lighting eliminates shadows where you need precision work. Task lighting beneath upper cabinets helps you see what you’re doing clearly. Consider adding adjustable spotlights for detailed food preparation tasks.
Don’t rely solely on overhead kitchen lights; they often create dangerous blind spots. Battery-operated LED strips work great for temporary brightening. Position lights so they don’t cast shadows from your hands while working.
Bright workspaces prevent accidents like cuts and burns. Well-lit areas also help you spot expired ingredients or food contamination. You’ll feel more confident and productive when you can clearly see your workspace.
Good lighting is essential for everyone’s kitchen safety.
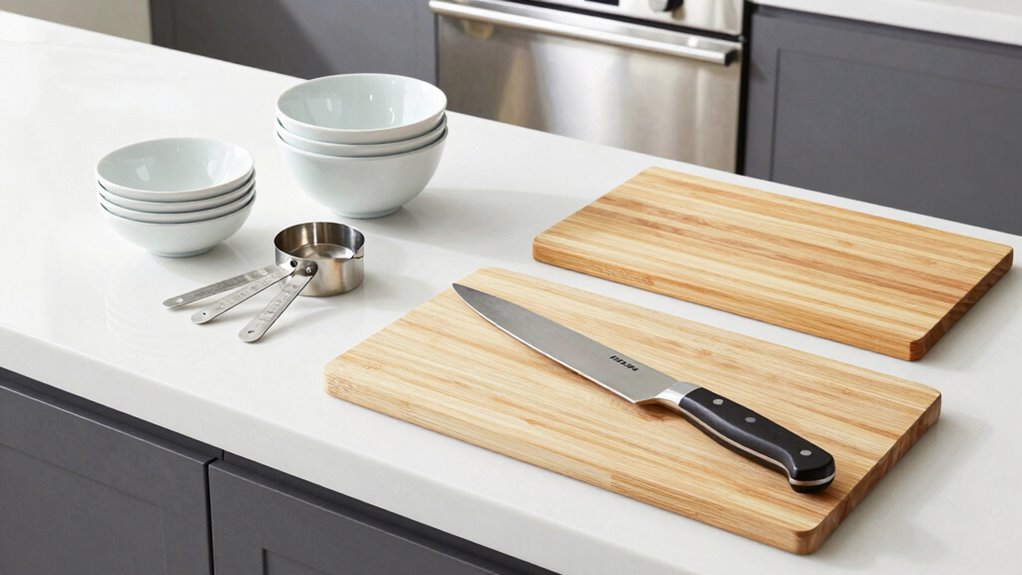
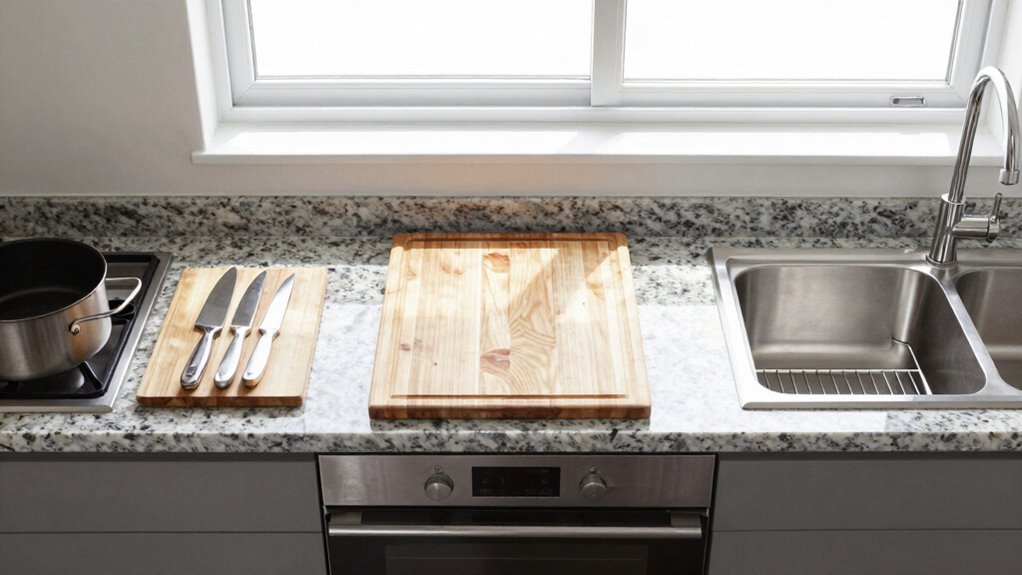
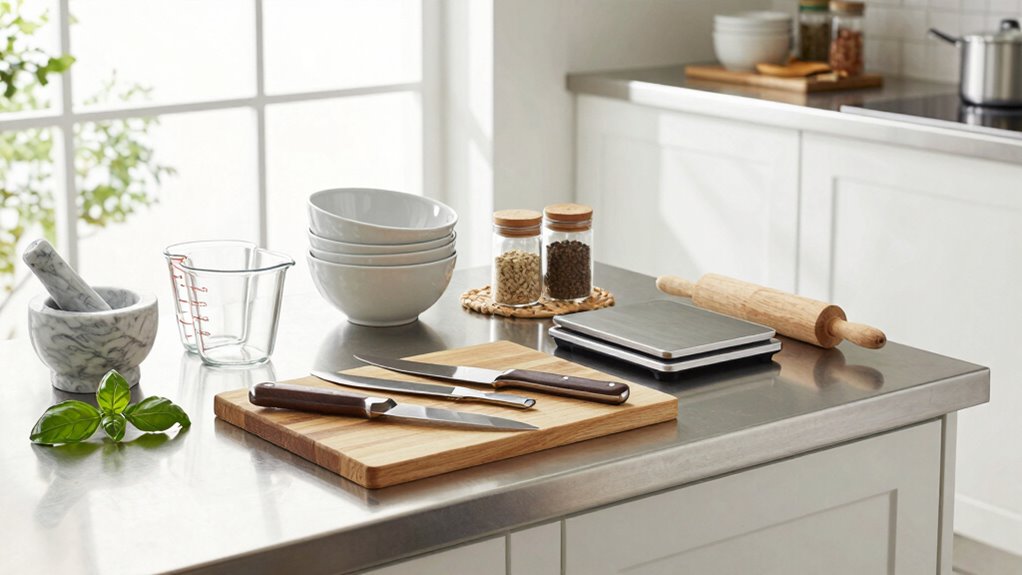
Pick a Sturdy Surface for Chopping & Prep
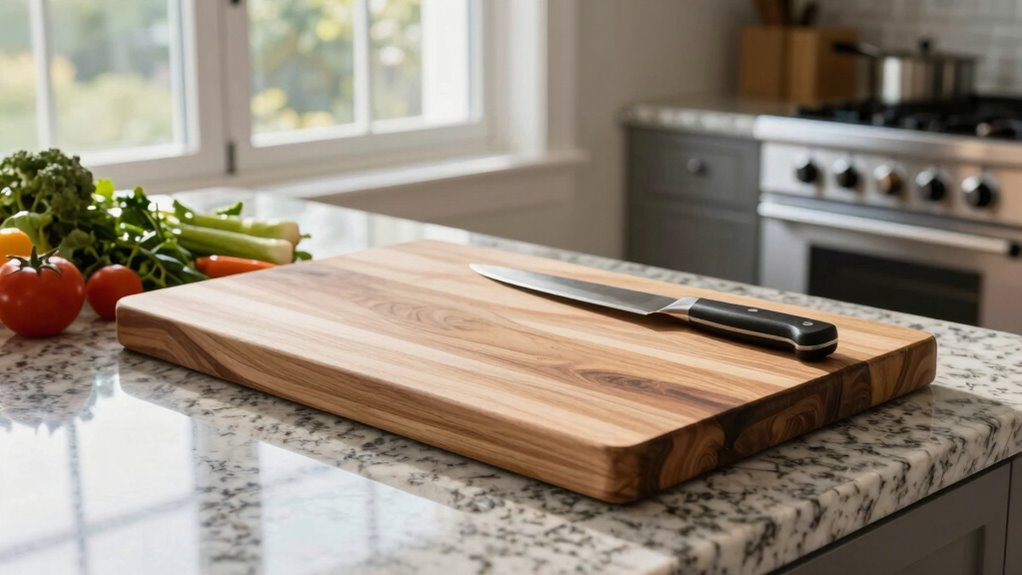
A sturdy cutting board forms the foundation of any efficient kitchen workspace. You need a surface that won’t slide around or damage your knives.
- Choose the right material – Wood or plastic boards work best for different tasks. Wood handles knife blades gently while plastic sanitizes easily.
- Match board size to your prep needs – Large boards accommodate whole vegetables and meats, preventing awkward transfers to smaller surfaces.
- Ensure non-slip feet or grips – Boards that stay put reduce accidents and let you focus on precise cutting techniques.
- Maintain separate boards for different foods – Dedicate specific boards to proteins, vegetables, and breads to prevent cross-contamination.
Your cutting board becomes an extension of your cooking identity when chosen thoughtfully.
Add a Station Just for Meal Planning
Once you’ve established a reliable surface for chopping and prep work, you can streamline your cooking process by creating a dedicated space for meal planning.
Choose a visible area near your main workspace where you can spread out recipes, calendars, and meal ideas. Use a bulletin board, magnetic board, or designated countertop section.
Keep blank recipe cards, pens, and a meal planning template within arm’s reach. This station becomes your command center for weekly menu decisions.
You’ll find yourself naturally gravitating toward organized meal preparation when everything you need sits in one convenient location. Make this space inviting enough that you’ll want to spend time there organizing your culinary week.
Have Timers and Lists Always at Hand
You should position timers where you can see them while cooking, not tucked away in drawers.
Keep your daily task lists visible on a clipboard or magnet board near your workspace.
These tools prevent you from losing track of time or forgetting important steps mid-recipe.
Keep Timers Visible and Accessible
Where should you place your timers and lists for maximum efficiency in your kitchen workspace? You need strategic placement that keeps everything within reach while cooking.
- Mount timers on walls near your stove or prep area so you can set them without searching.
- Use magnetic timers on refrigerator doors for quick access when planning meals.
- Place list boards on kitchen islands or countertops where you naturally work.
- Keep backup timers in drawers near cooking zones for seamless replacement.
Positioning these tools visibly reduces stress and creates workflow continuity.
You’ll feel more confident cooking when essential timing tools surround your workspace.
This systematic approach helps you belong in your kitchen, working efficiently like experienced home cooks.
Your timers and lists become trusted kitchen companions, supporting your daily cooking rhythm effortlessly.
Maintain Lists for Daily Tasks
While keeping timers visible and accessible streamlines your cooking process, maintaining organized lists for daily tasks guarantees you never miss a beat in your kitchen routine.
Create a master list of recurring tasks like restocking pantry items, cleaning appliances, and meal planning. Break these into daily, weekly, and monthly categories.
Place your lists where you’ll see them regularly – magnet them to your refrigerator or keep them beside your timer station. Use checkboxes to track completion and maintain momentum. Digital apps work well, but physical lists provide tangible satisfaction when marking tasks complete.
Update your lists regularly to reflect changing needs and seasonal ingredients. This systematic approach keeps you connected to your kitchen’s rhythm while ensuring nothing slips through the cracks.
Block Out Time to Focus Without Distraction
Creating dedicated time blocks for your kitchen workspace setup guarantees maximum efficiency and minimizes interruptions.
You’ll transform your cooking area into a productive zone where focus thrives.
- Schedule specific meal prep hours – Block calendar time exclusively for kitchen tasks, treating these periods as non-negotiable appointments with yourself.
- Eliminate digital distractions – Put your phone in another room or enable do-not-disturb mode to maintain mental clarity during focused work.
- Communicate boundaries with household members – Let family or roommates know your designated kitchen hours so they understand when not to interrupt.
- Prepare your environment beforehand – Gather all necessary tools, ingredients, and materials before starting your focused kitchen session to avoid mid-task disruptions.
Adjust Height and Reach for Comfort
You should adjust your counter height to match your natural working position, keeping frequently used items within easy reach to minimize unnecessary bending or stretching.
Position your most-used tools and ingredients at waist level where you can access them without strain.
Make sure adequate lighting illuminates your workspace to prevent eye fatigue and improve safety.
Optimize Counter Height
One key factor in establishing an efficient kitchen workspace is ensuring your counter height matches your body dimensions for ideal comfort.
You’ll work more effectively when your workspace aligns with your natural posture and reach.
- Measure your elbow height while standing – this should match your counter height for best arm positioning
- Adjust cabinet heights so frequently accessed items don’t require excessive bending or stretching
- Create zones for different activities by varying counter heights to suit specific tasks
- Consider adjustable countertops or platform risers to customize your workspace dimensions
When your kitchen setup reflects your body’s natural movements, you’ll feel more connected to your space.
Proper counter height eliminates strain and fatigue, making cooking sessions enjoyable rather than exhausting.
You deserve a kitchen that works with you, not against you.
Position Frequently Used Items
Strategic placement of frequently used items eliminates unnecessary bending, stretching, and reaching during meal preparation.
You should position your most-used tools within arm’s reach at waist to shoulder height. Keep cooking oils, spices, and salt near your stove. Store coffee, tea, and breakfast items at eye level in upper cabinets.
Place heavy pots and pans in lower cabinets below your primary workspace. Arrange dishware so everyday plates and bowls are easily accessible. Position your trash can and recycling bins within comfortable reach of food prep areas.
Keep cleaning supplies under or near your sink. Store snacks and frequently used ingredients at convenient heights.
This systematic approach reduces fatigue and makes cooking feel effortless. You’ll spend less time searching and more time creating meals.
Your kitchen becomes an efficient workspace that supports your daily routine and makes you feel connected to your home.
Ensure Adequate Lighting
Proper lighting forms the foundation of an efficient kitchen workspace. You need adequate illumination that reduces eye strain and prevents accidents while cooking.
- Install task lighting under cabinets to illuminate countertops where you prep food most often.
- Adjust light fixture height so you’re not casting shadows on your work surface or creating glare.
- Use layered lighting combining overhead, task, and ambient sources for complete coverage.
- Position lights at comfortable reach so you can easily turn them on without interrupting your workflow.
Good lighting helps you feel more connected to your kitchen space. You’ll work faster, safer, and with greater confidence when everything’s clearly visible.
Don’t overlook this vital element.
Tidy While You Cook for Easier Endings
While you’re cooking, clearing as you go prevents messy pileups that make cleanup feel overwhelming.
Start by washing utensils immediately after use rather than letting them soak in dirty water. Rinse cutting boards and knives between food prep tasks to avoid cross-contamination and sticky buildup.
Wipe down counters with a damp cloth between steps, removing crumbs and spills before they attract more debris. Stack clean dishes near your workspace so everything has its place.
Empty your trash can before starting meal prep to avoid overflow. Keep a small bowl nearby for quick tidying of peels, cores, and small scraps.
Don’t wait until mealtime ends to begin organizing your space. This approach creates a cleaner, safer environment where you can focus on cooking without distraction.
Give Your Space Some Personality Boosters
Your kitchen workspace deserves elements that reflect your personal style and make the environment more enjoyable to work in.
These personality boosters transform your cooking area into a space where you truly belong.
- Display your favorite cookbooks – Stack or arrange them by color to create visual appeal while keeping inspiration within reach.
- Add meaningful artwork – Choose prints or photos that connect you to family recipes or travel memories.
- Incorporate plants – Herbs like basil or mint serve dual purposes as decor and ingredients.
- Choose unique storage containers – Select jars and canisters that match your aesthetic while organizing essentials.
These elements create a kitchen workspace that feels authentically yours.
Make Your Cleanup Steps Automatic
Streamlining your cleanup routine happens when you implement systematic habits that reduce decision-making during busy cooking sessions.
Start by placing dirty dishes directly into the sink immediately after use. Keep a designated spot for utensils, cutting boards, and cookware while cooking. Wipe down counters and stovetops as you work. Run the dishwasher or start soaking pots right after meals.
Create a simple three-step process: load, clean, put away. Assign specific cleaning tools to certain areas. Keep dish soap and sponges within easy reach.
Develop muscle memory by repeating the same cleanup sequence every time. These automatic habits eliminate guesswork and create consistency. You’ll find cleanup becomes effortless when it’s integrated seamlessly into your cooking workflow.
Review and Adapt Your Setup Regularly
Because your cooking needs and habits evolve over time, you should regularly evaluate and modify your kitchen workspace to maintain ideal efficiency.
Your setup that worked perfectly six months ago might now hinder your productivity.
- Monthly functionality checks – Test how smoothly your workflow operates during different meal preparations.
- Seasonal storage reassessment – Rotate seasonal items and reorganize based on current recipe patterns.
- Weekly tool evaluation – Notice which utensils you reach for most and guarantee they’re easily accessible.
- Quarterly deep reflection – Analyze your overall cooking satisfaction and identify specific pain points.
Regular adjustments keep your kitchen aligned with your evolving culinary journey.
You’re not alone in this process – every home cook experiences changing needs. Stay attentive to what your kitchen whispers about necessary modifications.
Upgrade One Thing at a Time Efficiently
While you might feel tempted to overhaul your entire kitchen at once, upgrading one element at a time prevents overwhelm and guarantees each improvement integrates smoothly into your existing workflow.
Start with your most problematic tool or area that consistently slows you down. Replace that dull chef’s knife or organize that cluttered drawer first. Master the new setup before moving forward.
This systematic approach builds momentum while your budget and energy allow. You’ll notice immediate productivity gains, which motivates continued improvements. Document each change and its impact on your cooking efficiency. This creates a roadmap for future upgrades.
Stick to functional improvements over aesthetic ones initially. Your community of home cooks understands this patient, methodical approach beats rushing into expensive mistakes that leave you feeling disconnected from your workspace’s potential.
Conclusion
Your kitchen’s potential lies not in perfection, but in progress. What one small change could transform your cooking experience tomorrow? Start with your most frustrating daily task—then tackle it systematically. Organize tools by frequency of use, create distinct work zones, and build cleanup into every recipe. But here’s the secret: your ideal setup evolves with you. What will you upgrade next month? The answer might surprise you.
")