You can wash dishes faster by setting up your workspace first. Keep sponges, soap, and towels within reach before you start. Scrape food off immediately and sort dishes by how dirty they are. Use hot, soapy water in one sink and rinse in the other. Quick drying methods save time too. Want to know the specific techniques that’ll cut your dishwashing time in half?
Start Fast by Setting Up Your Dishwashing Zone
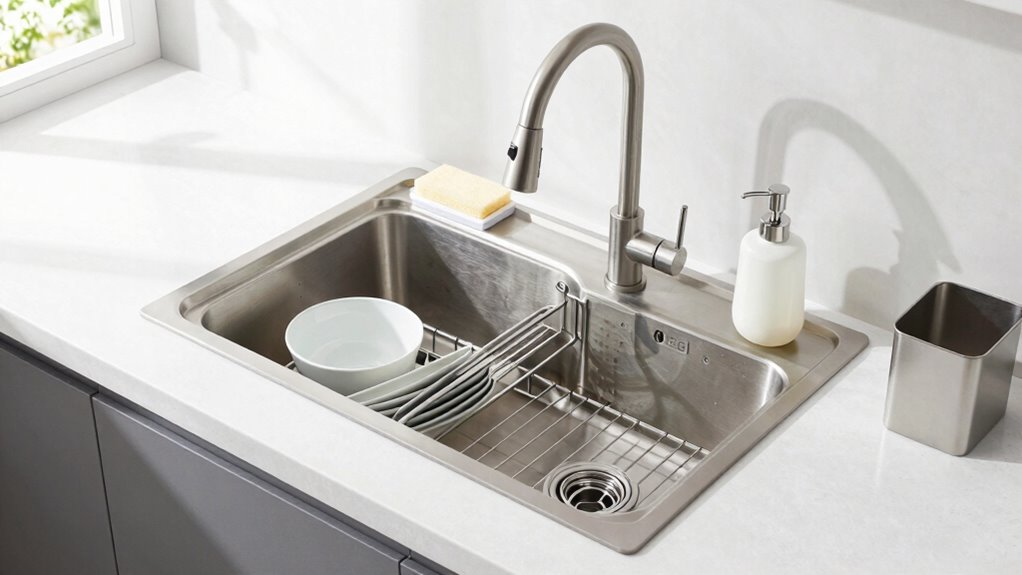
Before you begin washing dishes, set up your dishwashing zone properly to maximize efficiency. Clear counter space near your sink and gather all necessary items within arm’s reach.
Position your dirty dishes in a neat stack or organized pile beside the sink. Keep your rinsing bowl or sectioned-off sink area ready for immediate use. Arrange your clean dish stack in an accessible spot where you can easily place washed items.
Having everything positioned correctly prevents unnecessary reaching and movement that slows you down. This setup creates a smooth workflow that anyone can master. Your efficient dishwashing station becomes second nature with practice.
You’ll join the ranks of those who breeze through kitchen cleanup effortlessly. Proper preparation transforms a tedious chore into a quick, manageable task that fits seamlessly into your routine.
Set Up Your Sponge, Scrubber & Soap First
Now that your dishwashing zone is organized, focus on preparing your cleaning tools and soap. Having everything ready eliminates unnecessary trips and keeps you focused.
Grab your sponge, scrubber, and soap before turning on the water. This simple step prevents interruptions during the washing process.
- Sponge: Use a fresh, clean sponge for effective cleaning
- Scrubber: Keep a dedicated scrub brush for tough spots
- Soap: Position dish soap within easy reach
- Rinse aid: Don’t forget extra soap for heavily soiled items
Prepare these essentials first. You’ll work faster and avoid scrambling mid-wash. Everyone else will wonder how you finish so quickly.
Scrape and Sort Dishes by Soil Level
You should scrape off all food residue from dishes immediately after use to prevent it from drying and becoming harder to remove.
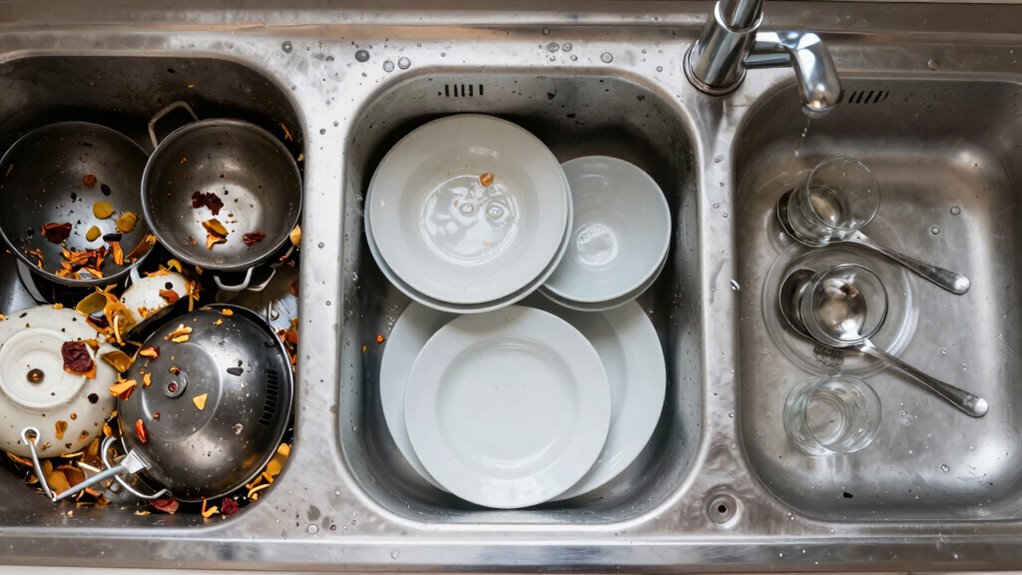
Sort your dishes into categories based on how dirty they’re – lightly soiled items like glasses and silverware go together, while heavily soiled pots and pans form another group.
This sorting process helps you tackle the easiest items first and saves time by matching cleaning intensity to actual soil levels.
Scrape Off Food Residue
When loading dishes into the sink, scrape off loose food particles and sort everything by how dirty it is. This simple step prevents clogged drains and makes cleaning faster.
You should tackle heavily soiled items first while they’re still wet.
- Scrape plates, bowls, and utensils immediately after use
- Remove large food chunks before rinsing anything
- Stack similar soil-level dishes together for efficiency
- Don’t pre-rinse everything – scrape what you can
Sort By Cleaning Difficulty
Sorting dishes by soil level builds on the scraping process you’ve already started.
Separate items into three categories: lightly soiled, moderately dirty, and heavily stained.
Light soil includes barely used glasses and silverware. Moderate dirt covers plates with leftover food bits and mildly greasy bowls. Heavy soil consists of caked-on food, burnt pots, and greasy baking sheets.
Tackle heavily soiled items first while your cleaning solution is hottest and most effective.
Let them soak briefly if needed. Wash moderate items next, then quickly rinse light soil pieces.
This approach prevents cross-contamination and guarantees everything gets proper attention.
You’ll work faster because you’re not constantly adjusting cleaning intensity. Your dishes will look better too.
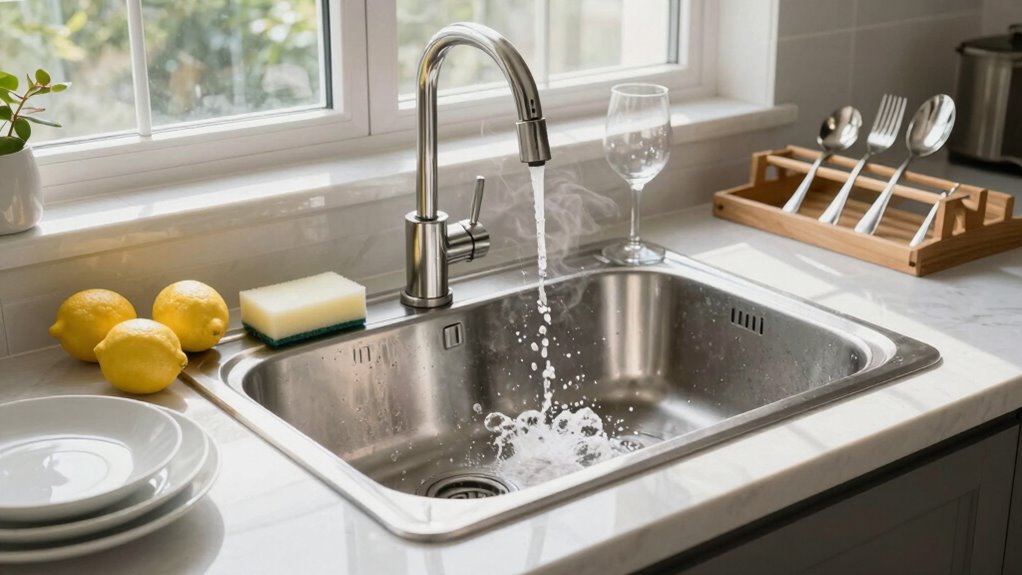
Fill One Sink With Soapy Water, Leave One Empty
While washing dishes quickly, fill one sink with hot, soapy water and leave the other sink empty for rinsing. This two-sink method streamlines your cleaning process and prevents water waste. You’ll work faster when everything has its designated place.
Keep these points in mind:
- Hot water cuts through grease more effectively than cold water
- The empty sink collects rinsed dishes, keeping your workspace organized
- You avoid constantly refilling one sink when using both properly
- This setup reduces dish handling time by up to fifty percent
Position dirty dishes in the soapy water immediately. Don’t let them sit and dry.
Work systematically from one sink to the other. Your clean dishes deserve proper treatment, and this method guarantees you’re not scrambling around looking for space or clean water.
Use Just Enough Soap to Cut Grease
You don’t need a mountain of soap to tackle greasy dishes effectively.
Using just the right amount cuts through grease faster while preventing excess suds that slow you down.
Master this balance and you’ll finish washing quicker.
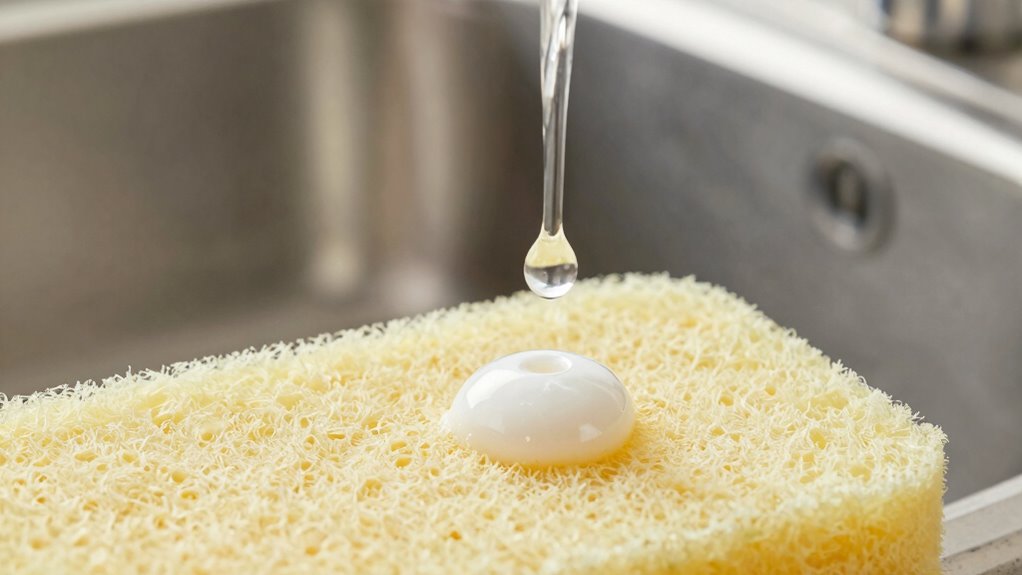
Optimal Soap Amount
A small amount of soap works better than you might expect for cutting through greasy residue on dishes.
You don’t need to drown everything in suds to get clean results. Using too much soap actually creates more work by requiring extra rinsing time.
Focus on these key principles:
- Start with one pump of dish soap for lightly soiled items
- Add more soap only when tackling heavily greased cookware
- Pre-rinse extremely oily dishes before applying soap
- Remember that hot water activates soap effectiveness better than cold water
Your goal is clean dishes without wasting product.
Master this balance and you’ll wash faster while getting better results.
Efficient soap usage means less time spent rinsing and more time enjoying your clean kitchen.
Proper Grease Cutting Techniques
When tackling greasy dishes, using just enough soap proves more effective than flooding your sink with suds. You want to create a concentrated lather that cuts through grease without wasting product.
Start with a small amount of dish soap – about a teaspoon for moderately greasy items. Work the soap directly onto your sponge or cloth, then scrub vigorously. The mechanical action combined with proper soap concentration breaks down stubborn grease films efficiently.
Don’t add more soap mid-wash unless absolutely necessary; you’ll waste time and water rinsing excess suds. Let the soap work for you by allowing contact time before rinsing.
This focused approach saves water, reduces drying time, and prevents streaky residue while ensuring your dishes emerge clean and spotless every time.
Wash From Cleanest to Dirtiest Items
Starting with cleaner items prevents cross-contamination while you work through your dish pile.
You’ll maintain better hygiene and avoid spreading bacteria from dirty to clean dishes. This method keeps your washing water cleaner longer, making the entire process more efficient.
Always sort your dishes by soil level before beginning. Glassware and silverware typically need less intensive cleaning than pots and pans. Plates fall somewhere in between depending on what you ate.
- Glasses and cups first – usually the cleanest items
- Silverware and utensils next – minimal food residue
- Plates and bowls third – moderate soil levels
- Pots, pans, and heavily soiled items last
This approach helps you work systematically through your kitchen cleanup routine.
You’ll spend less time re-washing items and maintain better sanitation throughout the process.
Clean Greasy Pots With Hot Water First
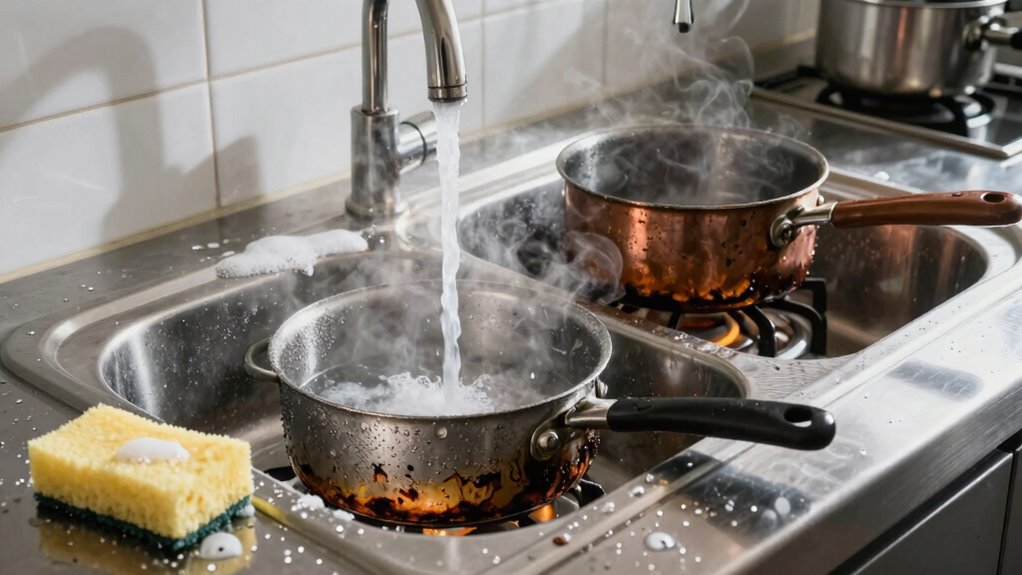
You should always rinse greasy pots and pans with hot water before applying soap. Hot water melts grease instantly, making it easier to remove.
Don’t waste time scrubbing cold grease – you’ll only spread it around. Instead, pour hot water directly into the pan or run it under the faucet for thirty seconds. The grease will loosen and slide off naturally.
Once rinsed, proceed with your regular washing routine. This simple step saves you minutes per dish and prevents stubborn buildup.
Your kitchen will smell better too, since you’re not rubbing grease into surfaces. Grease removal becomes effortless when you start with proper temperature.
Work quickly while the water’s hot for maximum efficiency. You’ll finish faster and achieve better results every time.
Air Dry or Towel: Choose Based on Time
You should choose air drying when you have more time because it requires no effort and lets dishes dry naturally.
You should towel dry when you need clean dishes immediately because it speeds up the process considerably.
Your schedule determines which method works best for you.
Air Dry Saves Time
Air drying dishes eliminates the time you’d spend towel-drying each item. You simply place clean dishes in the rack and let them air dry naturally. This method works especially well when you’re washing multiple loads or cooking meals that generate lots of dirty dishes.
- Rinse thoroughly before air drying to prevent water spots
- Use a quality dish rack with proper drainage to avoid puddling
- Position dishes strategically so water flows off quickly
- Ensure adequate ventilation around your drying area for faster evaporation
You’ll find that air drying becomes second nature once you establish this routine. Your kitchen stays organized, and you save precious minutes that add up throughout the week.
Plus, you’re not constantly reaching for clean towels or dealing with wet dish storage.
Towel Drying Speeds Up Process
While air drying works well for busy days, towel drying speeds up the process when you need dishes ready quickly.
You should reach for clean dish towels when time matters most. Grab two towels – one for drying, one for polishing. Shake excess water from items first, then pat dry instead of rubbing. Stack dried dishes immediately to prevent water spots.
Use paper towels for glassware to avoid lint. Keep towels handy near your sink for maximum efficiency. You’ll cut drying time in half compared to air drying.
This method works best when you’re prepping for meals or need clean dishes urgently. Don’t forget to wash your drying towels frequently to maintain hygiene standards everyone expects.
Choose Method Based On Schedule
When time is limited, towel drying becomes your best option for getting dishes ready quickly.
You need clean dishes now, not later. Air drying works when you’re not rushed, but towel drying speeds up your entire process.
Match your drying method to your schedule:
- Morning rush: Towel dry everything when you’re running late
- Weekend cleaning: Air dry while you tackle other chores
- Guest coming over: Towel dry for immediate use
- Nighttime washing: Air dry overnight to save time
You’re part of a community that values efficiency.
Choose towel drying when minutes matter, and air drying when you’ve got spare time.
Your schedule determines your best approach.
Clear and Rinse as You Cook
Clearing and rinsing dishes immediately as you cook prevents food from drying onto utensils and cookware. You should scrape plates and bowls into the trash or compost while preparing meals.
Rinse items under warm water to remove stubborn residue before soaking them in soapy water. This habit saves you time later since dried-on food requires more scrubbing and soaking.
Keep a dish rack near your sink for items needing immediate attention. Stack clean dishes nearby for quick access during cooking. You’ll discover this routine becomes natural quickly.
Working this way means less chaos in your kitchen. Your dishes won’t pile up, and cleanup feels manageable rather than overwhelming.
You’re creating a smoother cooking experience for yourself while building habits that make kitchen work feel lighter and more organized.
Swap Old Tools for Microfiber Sponges
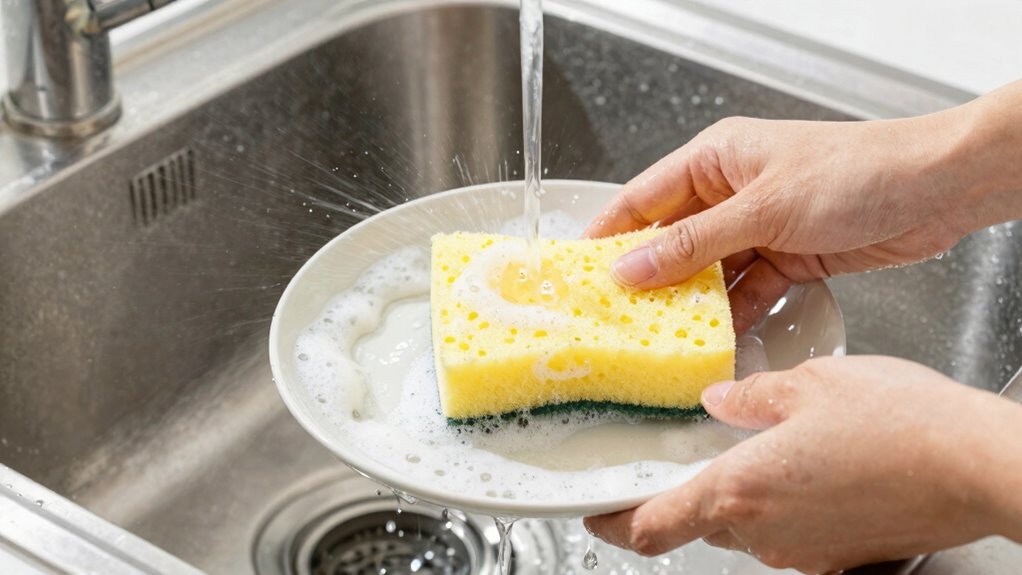
Microfiber sponges clean more effectively than traditional scrubbers, cutting down your dishwashing time considerably.
You’ll notice the difference immediately when you switch to these superior cleaning tools.
Traditional sponges harbor bacteria and require frequent replacement, while microfiber alternatives lasts longer and perform better.
Make the switch to join others who’ve already discovered their benefits:
- Absorbency: Microfiber soaks up more water and grime per swipe
- Gentleness: They won’t scratch delicate surfaces or glassware
- Durability: These sponges withstand hundreds of wash cycles
- Cost-effectiveness: Though initially pricier, they save money over time
Replace your worn-out scrubbers with quality microfiber sponges.
You’re not just upgrading tools; you’re joining a community of people who value efficiency and smart choices in their daily routines.
Use Two Sinks or Basins for Big Loads
If you’re tackling a mountain of dishes, using two sinks or basins simultaneously can cut your washing time in half.
You’ll work more efficiently by dedicating one side to washing with hot, soapy water while using the other for rinsing with clean water. This method eliminates constant draining and refilling, keeping you productive throughout the process.
Position your dirty dishes between both sinks for easy access. Load heavily soiled items in the washing basin first, then move them directly to the rinse side.
You’re not just saving time—you’re joining countless others who’ve mastered this smart technique. Big families and frequent entertainers rely on this approach daily.
Don’t let dishwashing overwhelm you when you’ve got better things to do. Work smarter, not harder.
Conclusion
You might think setting up takes too long, but organizing your dishwashing zone first actually saves time. Keep microfiber sponges, soap, and towels within reach. Scrape and sort dishes immediately, then tackle the soapy water method. Use two sinks when possible—one for washing, one for rinsing. Choose air-drying for efficiency or towel-drying when you need dishes fast. Clear dishes as you cook to prevent buildup.
")