You should always clean gently and choose solutions that won’t harm your cooktop’s finish. Whether you’re dealing with electric, gas, or induction surfaces, each type requires specific care approaches. Don’t risk scratching or discoloring your investment with harsh chemicals or abrasive tools. The right technique makes all the difference between a pristine surface and permanent damage. What’s the best method for your particular stove type?
How to Safely Remove Grease Without Damaging Your Cooktop
Before you begin cleaning your stove top, you’ll want to identify what type of cooktop you have since different materials require specific cleaning approaches.
You need to understand that ceramic, glass, and coil surfaces each demand gentle techniques to avoid damage. Start by turning off all burners and letting them cool completely.
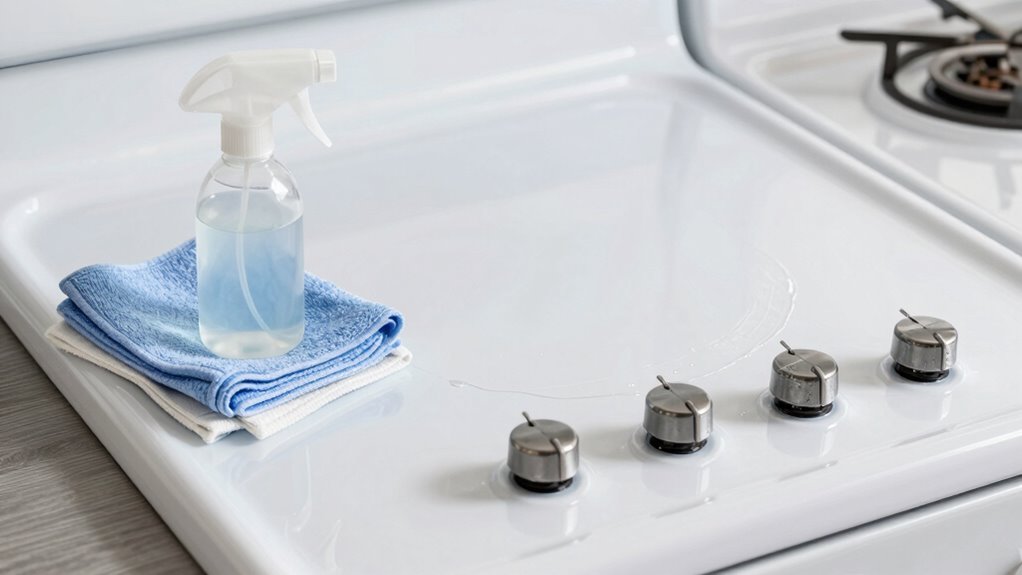
You should apply warm, soapy water to stubborn grease spots and let it sit for several minutes. Don’t use abrasive scrubbers that might scratch sensitive surfaces. Instead, you’ll want to use soft cloths or non-abrasive sponges.
For baked-on grease, you can create a paste using baking soda and water. Apply it gently, then wipe away with a damp cloth.
Always dry your cooktop thoroughly afterward to prevent water spots and maintain that pristine appearance everyone envies.
Scratch-Free Tools Every Kitchen Needs Now
You need specific tools that won’t damage your stove’s surface while effectively removing stubborn grease buildup.
These essential cleaning implements work without scratching delicate cooktop materials like glass, ceramic, or stainless steel.
Protecting your investment requires choosing the right equipment for safe, thorough cleaning.
Essential Scratch-Free Cleaning Tools
Three essential tools form the foundation of any effective scratch-free stove top cleaning routine.
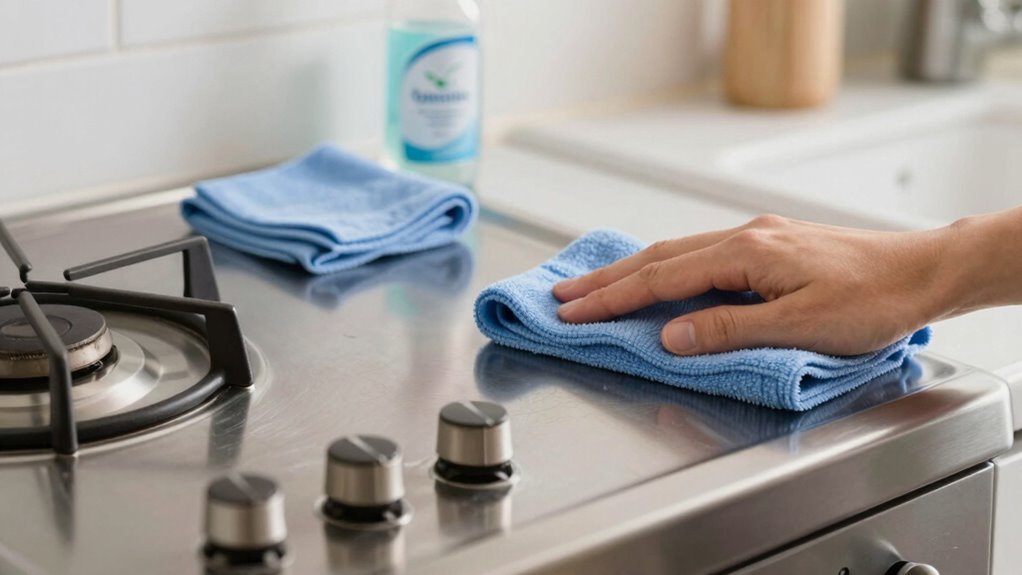
You need microfiber cloths that won’t abrade sensitive surfaces during cleaning. Soft sponges with nylon scrubbers work perfectly for removing stuck-on grease without scratching. Non-abrasive cleaning pads made specifically for delicate surfaces should replace steel wool or harsh scrubbers.
These tools protect your investment while delivering thorough results. Microfiber attracts grease and grime without leaving scratches or streaks. Soft sponges tackle tough spots gently. Specialized cleaning pads provide extra cleaning power when needed.
Keep these three items handy, and you’ll maintain your stove’s appearance while avoiding costly surface repairs. Your cleaning routine becomes more effective and safer for your appliance.
Safe Surface Protection Methods
A single misstep with the wrong cleaning tool can transform your gleaming stove top into a scratched disappointment.
You need reliable protection methods that keep your surface pristine while tackling tough grease buildup.
- Microfiber cloths become your first line of defense, trapping grease particles without abrasive contact that damages delicate surfaces.
- Soft-bristle brushes work magic on stubborn residues, reaching into crevices while maintaining gentle contact with your stove’s finish.
- Non-abrasive cleaning pads provide extra scrubbing power when grease won’t budge, ensuring you don’t resort to harsh tools that compromise surface integrity.
These methods protect your investment while delivering spotless results everyone admires.
Easy DIY Cleaners Using Pantry Staples Only
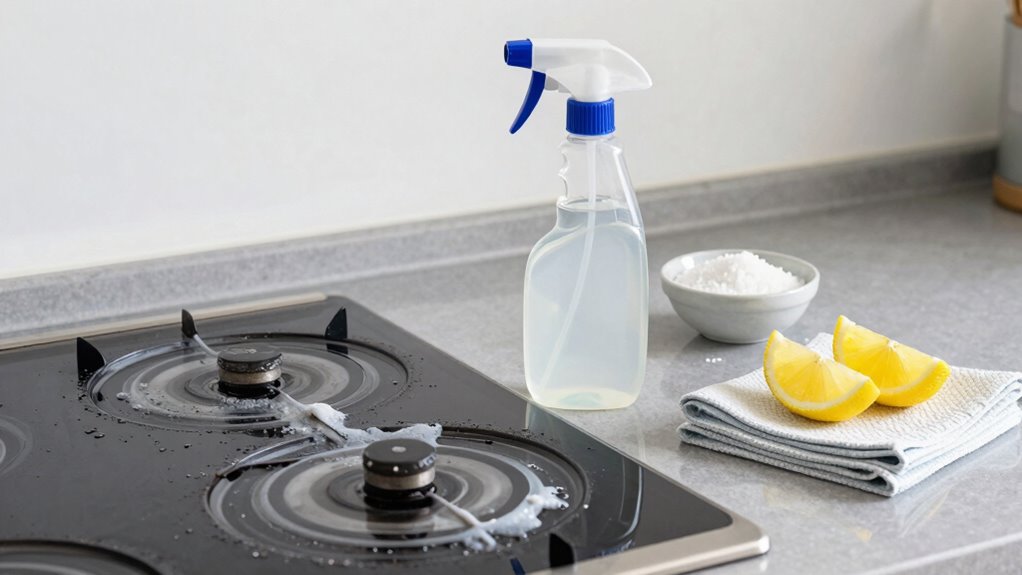
While commercial cleaners often contain harsh chemicals, effective degreasing solutions can be made using common household items like baking soda, vinegar, and lemon juice.
You’ll create a powerful paste by mixing baking soda with water until it forms a thick consistency. This gentle abrasive safely breaks down grease without scratching surfaces.
Vinegar mixed with equal parts water works excellently for wiping away leftover residue and grime. The acidity cuts through oils while leaving surfaces streak-free.
Lemon juice combined with salt makes an excellent degreasing agent that naturally sanitizes. You simply sprinkle salt onto lemon halves and scrub greasy areas.
These pantry staples work synergistically to dissolve stubborn buildup. Each solution removes grease effectively while protecting your cooktop’s finish, making them ideal alternatives to commercial products that might damage surfaces.
Cooktop-Specific Steps Based On Your Stove Type
Different stove types require specific cleaning approaches to guarantee effective grease removal without damaging surfaces. You need to identify your cooktop material first – ceramic, induction, or traditional coil – because each demands particular care techniques.
1. Ceramic and glass cooktops need gentle cleaners and soft cloths. Avoid abrasive scrubbers that scratch surfaces.
Use specialized ceramic cooktop cleaners or DIY vinegar solutions applied with microfiber towels.
2. Induction cooktops require magnetic surface protectors during cleaning. You should use pH-neutral cleaners specifically designed for electronic surfaces.
Never use steel wool or harsh chemicals that interfere with magnetic conductivity.
3. Coil and electric resistance cooktops allow slightly more aggressive cleaning methods. You can remove coils for separate cleaning, then wipe surfaces with degreasing agents.
Always make certain components are completely dry before reassembly.
Get Rid Of Burnt-On Food Without Scrubbing Hard
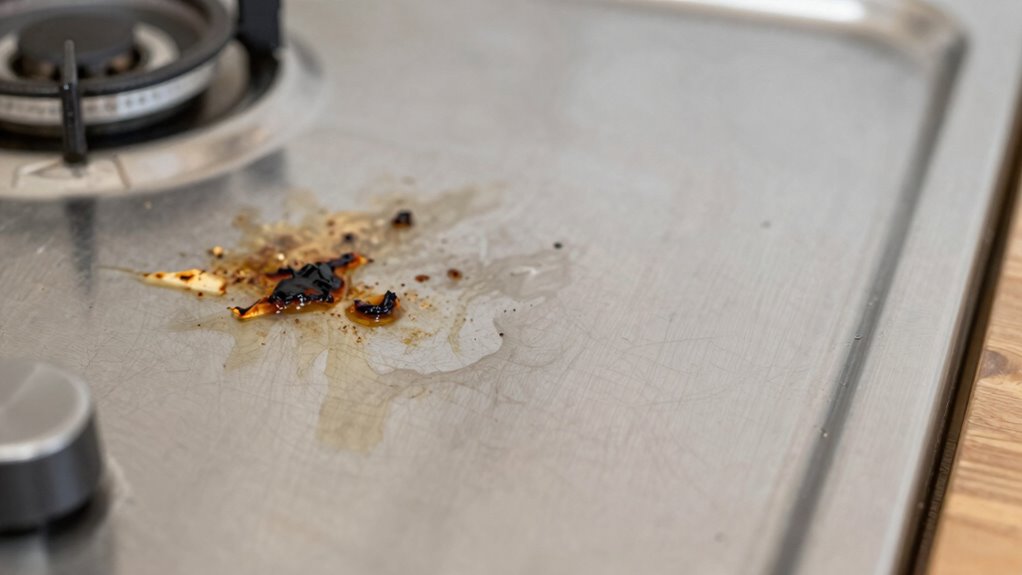
You can tackle stubborn burnt-on food by applying baking soda paste directly onto the affected areas and letting it sit for 15 minutes before wiping clean.
Try spraying white vinegar onto greasy spots and allowing it to fizz for several minutes, which helps break down the hardened debris automatically.
These gentle methods work because baking soda acts as a mild abrasive while vinegar dissolves the sticky residue without requiring aggressive scrubbing.
Easy Grease Removal Methods
Although greasy stove tops often seem like they need serious elbow grease, several effective methods can remove burnt-on food without heavy scrubbing.
You’ll discover these techniques work wonders while protecting your surface.
- Baking soda paste: Mix baking soda with water until thick, apply to greasy areas, let sit ten minutes, then wipe away with a damp cloth.
- Steam cleaning: Use a handheld steamer or boil water in a pot, place it on the stove, and let steam loosen grime naturally.
- Ice cube method: Rub ice cubes over burnt spots to harden grease, making it easier to scrape off gently.
These approaches save your surface from scratches while delivering impressive results.
You’re not alone in seeking gentle yet effective cleaning solutions.
Safe Cleaning Solutions
While greasy buildup might appear stubborn, several gentle cleaning solutions effectively dissolve burnt-on food without requiring harsh scrubbing.
You should try mixing equal parts water and white vinegar in a spray bottle, then letting it sit for ten minutes before wiping clean.
Baking soda paste works wonders on tough spots – simply dampen the area, sprinkle baking soda, and let it sit overnight before gentle wiping.
Lemon juice combined with salt creates a natural abrasive that lifts residue without scratching surfaces.
Castile soap mixed with warm water provides effective degreasing while remaining gentle on stove materials.
Always test solutions on hidden areas first, and avoid using steel wool or harsh chemicals that damage surfaces.
These methods preserve your stove’s integrity while delivering spotless results through patient, careful application.
Smart Habits That Make Future Cleanup Easier
Because prevention saves more time than remediation, establishing routine maintenance habits keeps your stove top from accumulating layers of baked-on grease.
You’ll appreciate these simple practices that protect your investment while reducing future cleaning headaches.
- Wipe down surfaces immediately after each cooking session using a microfiber cloth dampened with warm water
- Address spills and splatters within minutes before they harden and require aggressive scrubbing
- Apply a thin layer of protectant spray weekly to create a barrier against sticky buildup
These habits become second nature quickly. Your neighbors will admire your effortlessly clean kitchen, and you’ll feel proud knowing you’re maintaining your appliance properly.
Consistent care prevents the dreaded heavy-duty cleaning sessions that consume entire weekends.
Conclusion
You’ve now mastered the art of tackling greasy stove tops like a pro. Remember, consistency is key—small spills tackled immediately prevent bigger battles later. Keep those scratch-free tools handy, stick to gentle cleaners, and your cooktop will reward you with sparkling results every time. Don’t let grease build up become your kitchen’s Achilles’ heel.
")