You measure ingredients carelessly, ignore oven temperatures, and rush through steps. You end up with sunken cakes, dense muffins, and unevenly baked cookies. But you don’t have to accept these frustrations as inevitable. You can master the fundamentals that separate successful bakes from kitchen disasters. You just need to understand what really matters in the baking process.
Why Does Beginner Baking Go Wrong: and How Can You Prevent It?
When you’re just starting out with baking, even simple recipes can turn into disasters if you don’t understand what causes common mistakes.
You’ll often find yourself wondering why your cookies spread too much or your cakes sink in the middle. Temperature control becomes essential – you can’t ignore oven fluctuations or ingredient temperatures.
Measuring inaccurately kills your efforts quickly; baking’s chemistry demands precision. You’re not just mixing ingredients – you’re creating reactions.
Overmixing develops gluten that makes muffins tough instead of tender. Undermixing leaves pockets of flour that ruin texture.
Rushing through steps or skipping preparations like preheating guarantees failure. Your timing matters enormously.
Understanding these fundamentals helps you avoid repeating mistakes. You’ll gain confidence as you learn what works and what doesn’t.
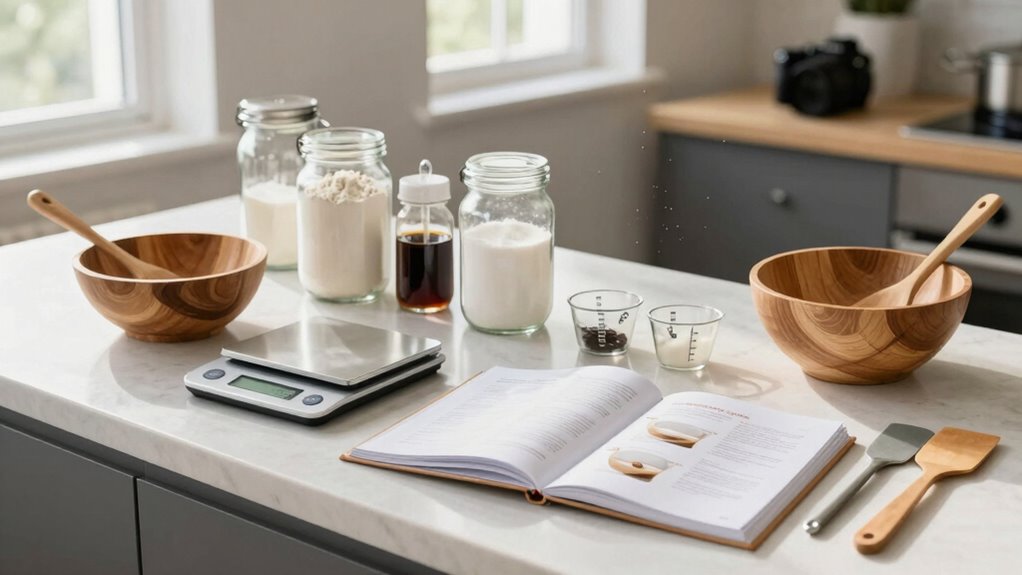
Must-Have Tools for Beginner Baking Success
Having identified the common pitfalls that derail beginner baking efforts, you’ll find that success hinges on more than just technique—you need the right tools.
These essential items will boost your confidence and results in the kitchen.
- Digital kitchen scale for precise measurements that guarantee consistent outcomes
- Stand or hand mixer to achieve proper dough development and smooth batters
- Silicone spatulas for thorough bowl scraping and gentle ingredient folding
- Cooling racks to prevent soggy bottoms and promote even temperature drops
- Oven thermometer because built-in dials often lie about actual temperatures
Investing in quality tools creates belonging in the baking community.
You’ll troubleshoot problems faster and enjoy better results consistently.
Master Accurate Measuring: Tips Every Beginner Needs
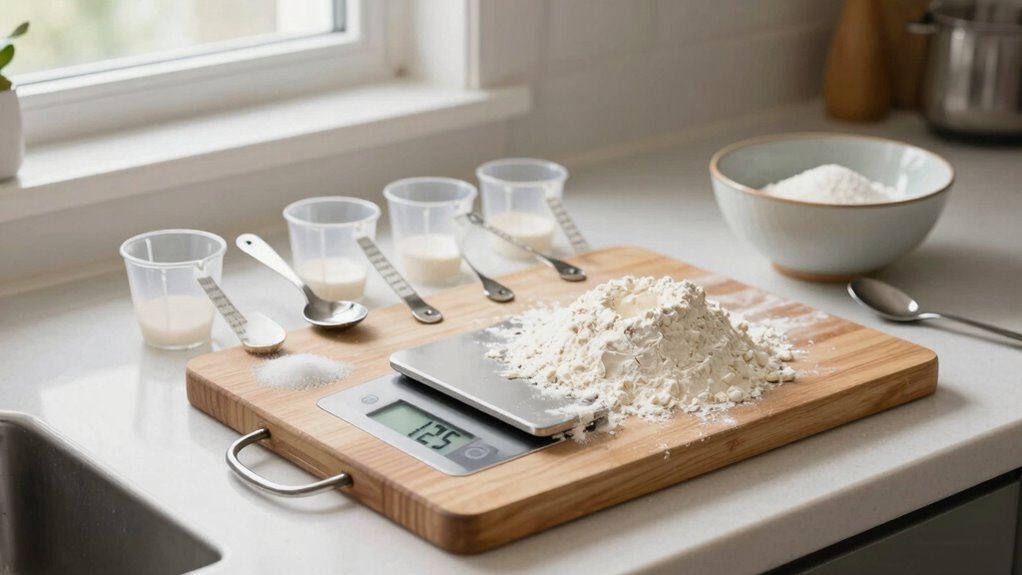
You’ll need reliable measuring cups and spoons to avoid common mistakes that derail baked goods.
Many beginners overpack flour or scoop ingredients incorrectly, leading to dense or dry results.
Mastering proper measuring techniques guarantees your recipes turn out perfectly every time.
Proper Measuring Tools
Accurate measurements form the backbone of successful baking, and three essential tools dominate every experienced baker’s kitchen. You need reliable instruments that deliver consistent results every time you step into your home kitchen.
Invest in these fundamental measuring tools:
- Dry measuring cups with flat tops for precise leveling
- Liquid measuring cups with spouts and clear markings
- Digital kitchen scale for grams and ounces accuracy
- Measuring spoons set with nested sizes
- Adjustable measuring cup for odd quantities
These tools become your trusted companions, helping you achieve bakery-quality results. Quality measuring equipment prevents guesswork and guarantees your baked goods turn out perfectly.
Don’t compromise on accuracy when it comes to these basic necessities. Your future baking adventures depend on getting measurements right from the start.
Common Measuring Mistakes
Why do so many home bakers struggle with accurate measurements despite having the right tools?
You’re probably making common mistakes that sabotage your baked goods.
Don’t pack flour into measuring cups; spoon it in lightly and level off.
Stop guessing liquid measurements – use clear measuring cups with meniscus indicators.
Scooping directly from flour bags creates dense, dry baked goods.
Nested measuring cups aren’t for dry ingredients – use flat-topped measures instead.
Remember that butter measurements matter; don’t eyeball those sticks.
Measuring errors compound quickly in baking chemistry.
Your oven temperature affects how ingredients behave.
Practice proper technique consistently.
Use the same measuring tools your recipes specify.
Don’t rely on volume measurements for accuracy – invest in a kitchen scale.
These habits separate successful bakers from those who struggle.
Master these fundamentals and you’ll belong among confident home bakers who achieve consistent results every time.
Get Even Bakes by Mastering Oven Heat Zones
You need to understand your oven’s heat zones to achieve consistent baking results.
Your oven probably has hot spots that cause uneven browning, so you’ll want to rotate your pans halfway through baking.
An oven thermometer helps you verify the actual temperature, since most ovens run hotter or cooler than the dial indicates.
Understanding Your Oven’s Hot Spots
When you master your oven’s heat zones, your baked goods transform from uneven disappointments into consistent successes. Every oven has unique hot spots that affect how your food cooks.
- Test with temperature strips to identify cooler and hotter areas in your oven.
- Check door seals regularly because worn seals create uneven heating patterns.
- Use oven thermometers since built-in controls often give inaccurate readings.
- Map your oven’s sweet spots by noting where cookies brown evenly versus burn quickly.
- Adjust rack positions based on what you’re baking – top racks run hotter than bottom ones.
Understanding these patterns helps you place pans strategically.
You’ll notice dramatic improvements in your baking results once you learn where your oven’s hot spots live and how to work with them effectively.
Rotating Pans For Uniform Browning
While your oven’s hot spots create inevitable temperature variations, rotating pans halfway through baking eliminates uneven browning and guarantees consistent results.
You should rotate your pans 180 degrees to guarantee even heat distribution. Front-to-back rotation works best since most ovens have back heating elements that create temperature differences.
Don’t forget to turn multiple racks simultaneously when baking several items. Keep your oven door closed during rotation to maintain consistent temperature.
This simple technique prevents undercooked edges and over-browned corners. Your baked goods will emerge with uniform color and texture every time.
Professional bakers rely on this method because it works. You’re now using the same techniques professionals use. Your friends will notice the difference in your perfectly browned cookies, cakes, and breads.
Rotating pans becomes second nature with practice.
Using Oven Thermometer For Accuracy
Rotating pans helps achieve even browning, but understanding your oven’s actual temperature takes precision to the next level. Most home ovens fluctuate considerably from the set temperature, causing uneven baking results. An oven thermometer gives you the accuracy you need for consistent success.
- Place the thermometer in the center of the middle rack for accurate readings
- Check temperature after preheating and again halfway through baking
- Adjust your oven temperature based on the thermometer’s actual reading
- Invest in a digital thermometer for precise, easy-to-read measurements
- Test different spots in your oven to identify hot and cool zones
Knowing your oven’s true temperature eliminates guesswork.
You’ll achieve professional results every time, joining the ranks of confident home bakers who master their craft through simple, reliable techniques.
Which Flour Should You Use for Cakes vs. Cookies?
Because different baked goods require specific textures and structures, choosing the right flour makes or breaks your cakes and cookies.
You need cake flour for tender, delicate cakes because it has less protein and creates fine crumbs. All-purpose flour works well for most cakes when cake flour isn’t available.
Cookies demand more structure, so you reach for all-purpose or bread flour. The higher protein content builds gluten, giving cookies their needed chewiness and shape.
Don’t use cake flour for cookies; they’ll spread too much and become overly soft.
Remember that measuring matters – spoon and level your flour rather than scooping directly from the container.
Your flour choice directly impacts your baking success, so pay attention to what you’re using.
Swapping Baking Ingredients Successfully
Anyone can master ingredient substitutions with the right knowledge and techniques. You’ll save money and reduce waste by learning these essential swaps.
- Replace butter with coconut oil at a 1:1 ratio, but expect slight texture changes.
- Use Greek yogurt instead of sour cream for moist, tender baked goods.
- Substitute applesauce for oil in quick breads and muffins to reduce fat content.
- Swap buttermilk with regular milk plus lemon juice or vinegar for tender cakes.
- Replace eggs with mashed banana or flaxseed mixed with water for binding.
These substitutions work because they maintain similar chemical properties. You’re not just swapping blindly – you’re understanding how ingredients function.
Practice these basics and you’ll gain confidence experimenting with more complex recipes while keeping your pantry flexible and budget-friendly.
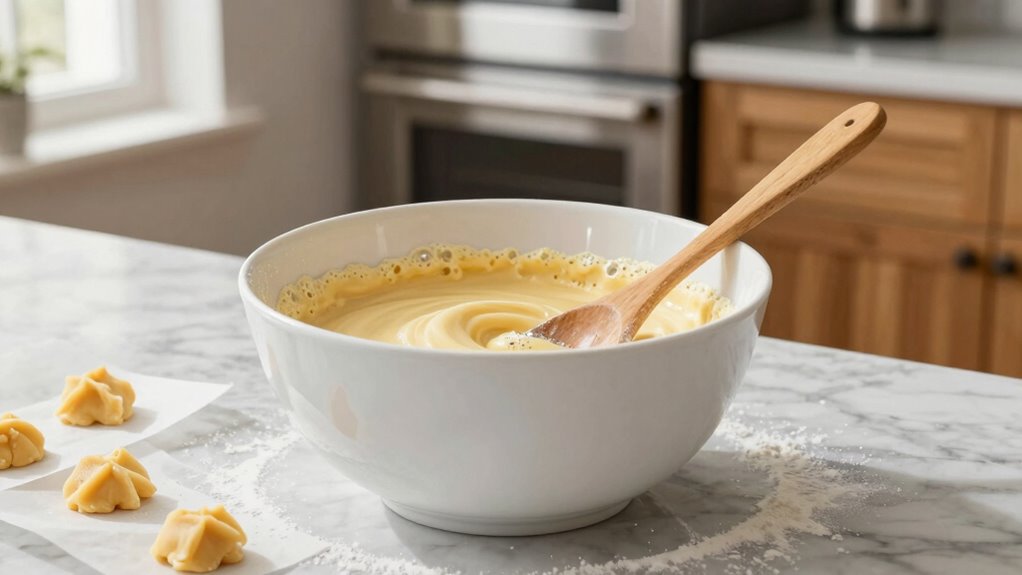
How to Cream Butter and Sugar Like a Pro
You need softened butter at room temperature to achieve that light, fluffy texture professional bakers create.
Start by beating the butter alone until it becomes smooth and creamy, then gradually add your sugar while maintaining a steady mixing speed.
This technique incorporates air bubbles that give your baked goods that perfect rise and tender crumb structure.
Proper Butter Temperature
Why does butter temperature matter so much in baking? Proper butter temperature directly affects your baked goods’ texture and structure.
When butter’s too cold, it won’t cream properly with sugar. If it’s too warm, your mixture becomes greasy and dense.
- Room temperature butter feels cool to touch but indents when pressed
- Cold butter requires ten minutes at room temperature before use
- Overly soft butter causes cookies to spread excessively
- Proper creaming creates light, fluffy mixtures with sugar
- Temperature consistency guarantees uniform baking results throughout
Achieving the right butter temperature separates amateur from professional results.
You’re not just following steps—you’re understanding the science that makes baking successful. Master this simple technique and watch your baked goods transform dramatically.
Mixing Technique Essentials
Having the right butter temperature sets the stage for successful mixing, and now it’s time to master the technique that brings everything together.
You’ll want to beat softened butter and sugar until light and fluffy, which typically takes three to five minutes. Start on low speed to combine ingredients, then increase to medium-high. Watch for the color to pale and the texture to become airy.
This process incorporates air bubbles that create tender baked goods. Don’t rush or overbeat, as this can cause dense results. Your mixer should sound consistent, not labored.
When you lift the beaters, the mixture should fall back into the bowl in ribbon-like strands. This creaming method forms the foundation for cookies, cakes, and muffins that rival bakery quality.
Mixing Techniques for Lighter Cookies and Cakes
Three fundamental mixing techniques transform dense baked goods into airy, tender treats.
You’ll achieve better texture and rise when you master these essential methods that create lighter cookies and cakes every time.
- Cream butter and sugar thoroughly until light and fluffy, incorporating air bubbles that expand during baking.
- Fold wet ingredients gently into dry components using a spatula, preserving incorporated air.
- Whisk eggs lightly before adding, preventing overmixing that develops tough gluten.
- Alternate wet and dry additions in small batches, maintaining batter’s delicate structure.
- Stop mixing immediately once ingredients combine, avoiding dense, tough results from excess agitation.
These techniques create the foundation for successful lighter baked goods that taste professionally made.
Time Baking Perfectly With These Quick Tips
You need to master oven temperature control because even a 25-degree difference can ruin your baked goods.
Don’t underestimate how essential proper baking tool selection becomes when you’re working with precise timing requirements.
These fundamentals will transform your baking results from inconsistent to perfectly timed every single time.
Mastering Oven Temperature Control
When you understand how your oven’s temperature fluctuations affect baking outcomes, you can adjust timing and heat settings to achieve consistent results.
Most home ovens vary by 25-50 degrees, so timing becomes essential for success.
- Invest in an oven thermometer to verify actual temperature readings
- Preheat fully before inserting baked goods to prevent uneven rising
- Rotate pans halfway through baking to compensate for hot spots
- Avoid opening the door during first 15 minutes to maintain heat stability
- Use lower rack positions for bottom heat and higher racks for top browning
These adjustments help you work with your oven’s personality rather than against it.
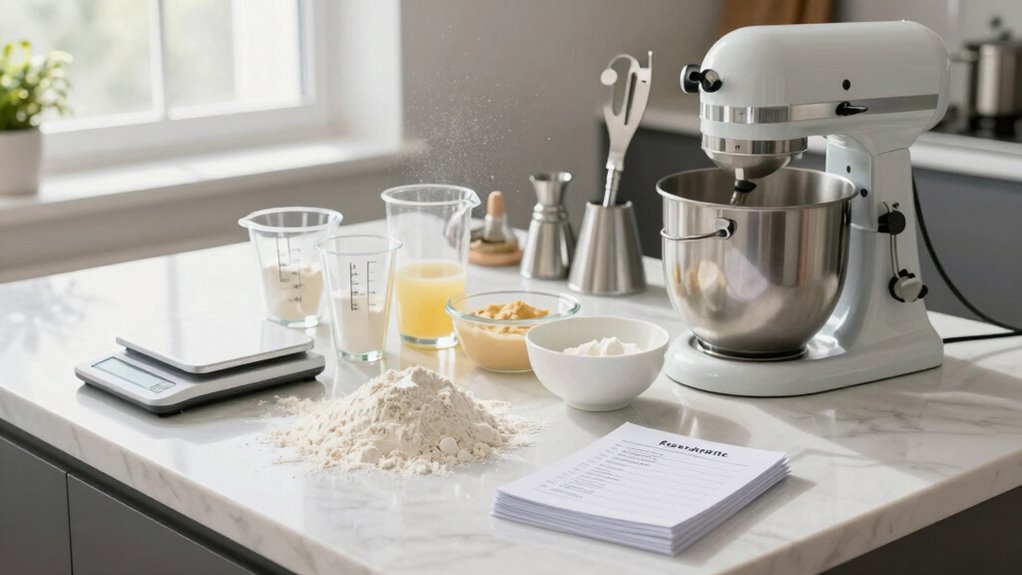
Essential Baking Tool Selection
While proper oven temperature control sets the foundation for successful baking, having the right tools guarantees you can execute techniques with precision and consistency.
You need reliable measuring cups and spoons for accurate ingredient proportions. A digital scale guarantees precise weight measurements. Invest in quality mixing bowls in various sizes.
Your spatulas should be heat-resistant and flexible for proper mixing and scraping. Don’t overlook parchment paper for easy cleanup and preventing sticking. A good whisk handles everything from egg beating to batter mixing.
Metal cooling racks prevent soggy bottoms. Sharp knives make quick work of butter and chocolate. Finally, timer reliability keeps your baked goods from burning.
These essentials create confidence in your kitchen skills.
Check If Cakes Are Done the Right Way
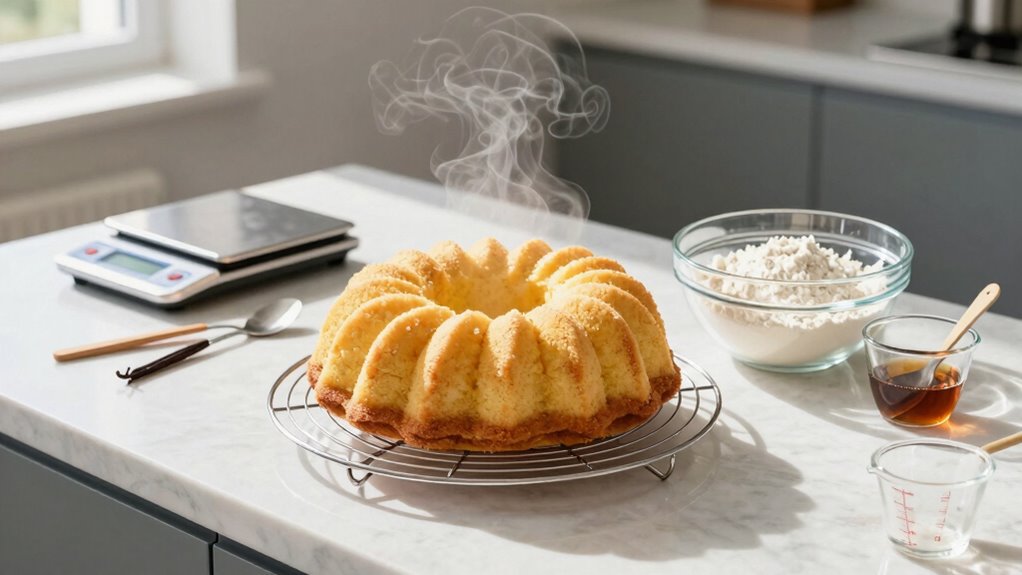
How do you know when your cake is perfectly baked through? Don’t rely solely on timer settings – your cake needs proper testing to confirm it’s done right.
Use these reliable methods to check doneness:
- Insert a toothpick or cake tester into the center; it should come out clean or with just a few moist crumbs.
- Gently press the cake’s surface with your finger; it should spring back instead of leaving an indentation.
- Check that the edges pull away slightly from the pan’s sides.
- Look for golden-brown coloring that indicates proper baking.
- Verify the internal temperature reaches 210°F when using a thermometer.
These techniques prevent underbaked centers or overcooked edges, confirming your cake turns out perfectly every time.
Why Cookies Burn, Spread Too Much, or Dry Out: and How to Fix Them
You’ll discover why cookies burn when oven temperatures run too high or baking sheets retain excess heat.
Prevent spreading by chilling dough properly and using the right flour-to-fat ratios.
Keep cookies moist by storing them correctly and avoiding overbaking.
Why Cookies Burn Easily
Cookies burn easily when your oven temperature runs too hot, so always verify your oven’s accuracy with an oven thermometer before baking. You’ll avoid disappointment when your treats come out perfectly every time.
Several factors contribute to burnt cookies:
- Dark baking sheets absorb extra heat, cooking cookies faster than intended
- Overcrowding pans prevents proper air circulation around each cookie
- Leaving cookies on the hot pan after baking continues the cooking process
- Using melted butter instead of softened butter causes cookies to spread and burn quickly
- Old baking soda loses its leavening power, making cookies dense and prone to burning
Understanding these common mistakes helps you bake better cookies consistently.
How To Prevent Spreading
Temperature control makes or breaks your cookie’s structure. You prevent spreading by chilling dough for at least thirty minutes before baking. Cold dough firms up fats, helping cookies hold shape longer in the oven. Don’t forget to preheat your oven completely; starting cookies in a cool oven causes immediate spreading.
Your butter temperature matters too. Softened butter spreads easily, so use cold butter straight from the refrigerator. Mix it properly into dough without overworking.
Consider your baking sheets. Dark pans absorb heat faster, causing bottoms to set quickly while tops remain soft. Light-colored aluminum sheets distribute heat evenly. Line them with parchment paper to prevent sticking and promote even baking.
Finally, space cookies adequately on sheets, allowing room for proper air circulation around each cookie.
Tips For Moist Cookies
Several factors contribute to cookies burning, spreading excessively, or drying out during baking.
You need to understand these common issues to achieve perfect results every time.
- Chill your dough before baking to prevent excessive spreading and maintain shape
- Measure flour accurately using the spoon-and-sweep method to avoid dry, crumbly cookies
- Don’t overbake cookies; they continue cooking on the hot pan after removal
- Use room temperature butter for proper creaming, creating tender, moist textures
- Store cookies properly in airtight containers with a slice of bread to maintain moisture
These adjustments will help you master cookie baking and impress everyone with your newfound skills.
Baking Moist, Even Cake Layers Every Time
When you master the proper techniques, baking moist, even cake layers becomes remarkably consistent.
Start by creaming butter and sugar thoroughly until light and fluffy, which incorporates air for tender crumb. Measure flour correctly by spooning and leveling, never packing.
Room temperature ingredients blend seamlessly, preventing dense spots. Don’t overmix once flour joins wet ingredients; this develops gluten that toughens cakes.
Grease pans evenly and line bottoms with parchment for uniform removal. Bake at specified temperatures without opening oven doors prematurely.
Test doneness by inserting toothpick into centers; it should emerge with few moist crumbs.
Cool layers completely before assembling to prevent sliding. These fundamental practices guarantee bakery-quality results every time you bake.
Beginner-Friendly Yeast Tips for Fluffy Breads
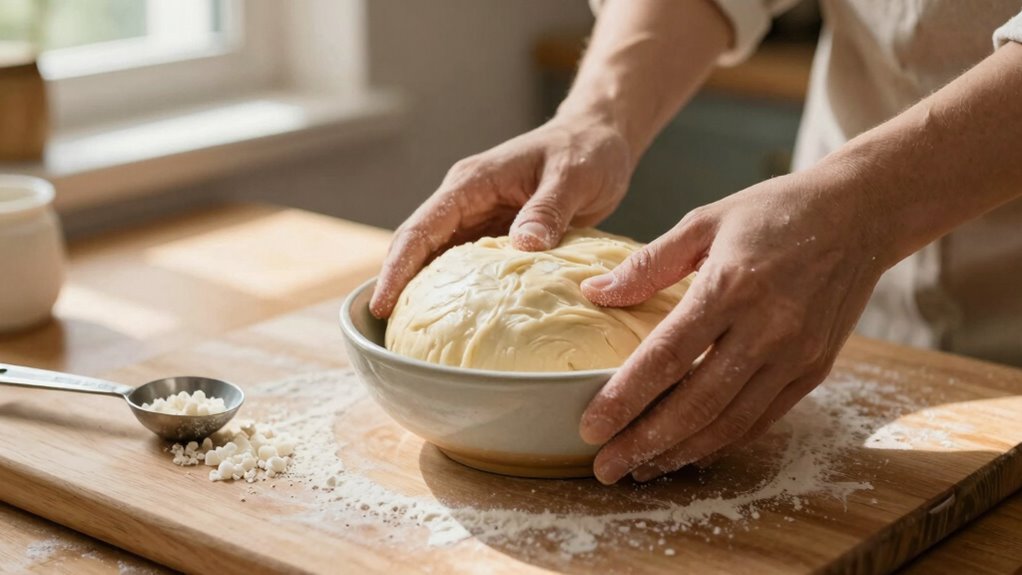
While yeast can seem intimidating at first, mastering a few basic principles will help you achieve consistently fluffy, well-risen breads.
You’ll discover that yeast responds predictably to temperature, timing, and technique.
- Proof your yeast by mixing it with warm water and sugar; if it foams within ten minutes, it’s alive and ready.
- Maintain consistent warmth during rising—your oven light or a sunny windowsill works perfectly.
- Knead thoroughly until dough becomes smooth and elastic, usually eight to ten minutes by hand.
- Let dough double in size during first rise, which typically takes one to two hours depending on room temperature.
- Punch down gently after rising, then shape and allow second rise before baking.
These fundamentals create reliable results every time.
Store Fresh Baked Goods Longer With These Tricks
Fresh baked goods don’t have to stale quickly if you follow proper storage techniques.
You should store bread in paper bags rather than plastic, which traps moisture and promotes mold.
Keep cookies in airtight containers with a slice of bread to maintain softness.
Place pastries in single layers to prevent crushing and moisture buildup.
Store cakes covered at room temperature for up to three days.
You’ll want to avoid refrigerating most baked goods since cold air dries them out faster.
Freeze items you won’t eat within a few days, wrapping them tightly in plastic and foil.
Label everything with dates so you know when to consume items for最佳 quality.
These simple steps will keep your homemade treats tasting fresh longer.
Fixing Sunken Cakes & Dense Muffins Easily
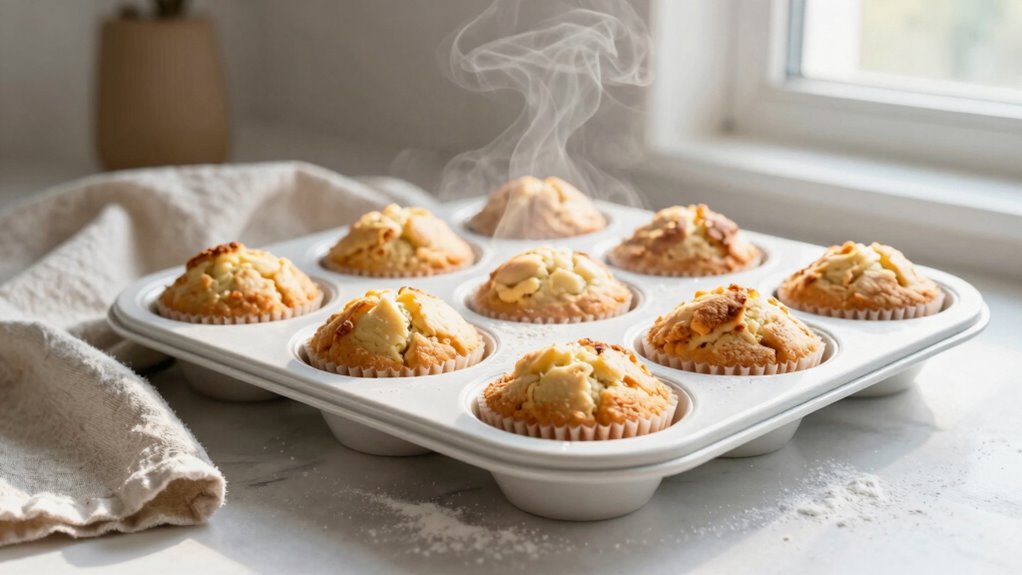
Although sunken cakes and dense muffins can be frustrating, you can often rescue these common baking failures with simple techniques.
Don’t let imperfect texture ruin your baking confidence.
- Check oven temperature accuracy with a reliable thermometer to prevent underbaking.
- Avoid opening oven doors during baking; temperature fluctuations cause collapse.
- Measure flour correctly using the spoon-and-sweep method to prevent heaviness.
- Verify leavening agents like baking powder are fresh and properly distributed.
- Let baked goods cool completely before removing from pans to maintain structure.
These straightforward fixes help you achieve better results consistently.
Master these basics and you’ll belong among confident home bakers who troubleshoot like pros.
Scale Recipes Up or Down Without Messing Up
Scaling recipes up or down requires more than simply multiplying ingredients; you need to understand how ingredient ratios and baking dynamics change with quantity.
When you double a recipe, don’t double the baking powder or salt blindly—these ingredients can become overpowering. Leavening agents often need adjustment since larger batches may bake differently.
You’re better off using baker’s percentages or weight measurements rather than volume for accuracy. Remember that baking time changes too; larger portions need longer exposure to heat.
Pan size matters considerably—ensure your adjusted recipe fits properly in available bakeware.
Mix times might need modification since larger batches create different textures. Temperature adjustments prevent over-browning edges while undercooking centers.
Mastering these tweaks helps you achieve consistent results regardless of batch size.
Easy Decorating Ideas for Cookies and Cakes
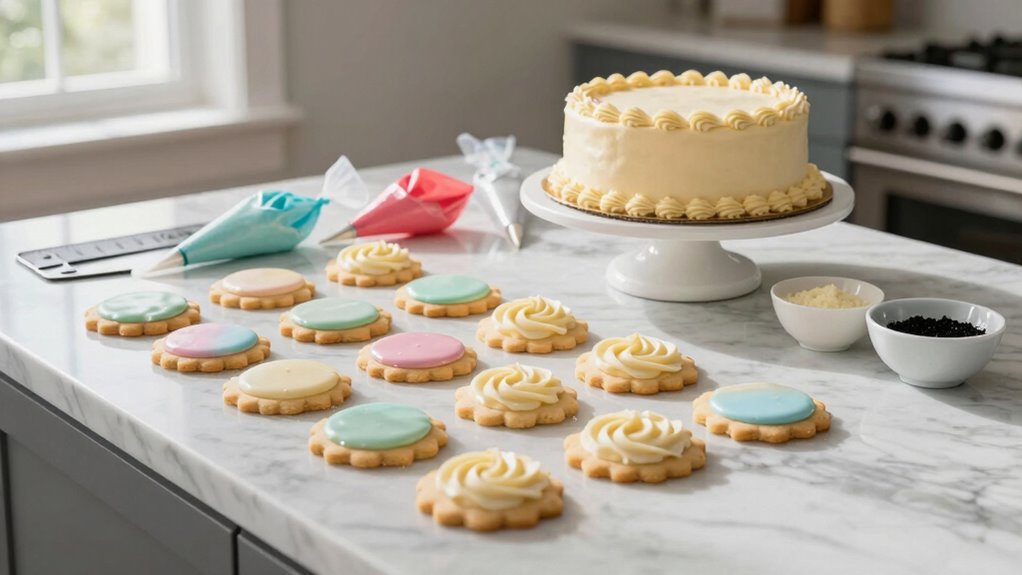
While simple decorations can transform your baked goods from ordinary to extraordinary, you don’t need advanced skills or expensive tools to create stunning results.
You can elevate your cookies and cakes with these straightforward techniques that make your treats look bakery-fresh:
- Use colored sanding sugar or sprinkles for instant visual appeal
- Pipe simple borders with store-bought icing in a disposable bag
- Create patterns with a toothpick swirled through different colored frostings
- Press fresh fruit or edible flowers gently onto soft icing
- Drizzle contrasting colored icing in zigzag patterns across the surface
These methods help you achieve professional-looking desserts that impress guests while building your confidence in the kitchen.
Start Strong With Easy Beginner Baking Projects
Success in baking starts with choosing projects that build your confidence and skills without overwhelming you. Begin with simple recipes like chocolate chip cookies or banana bread. These classics teach fundamental techniques while delivering reliable results.
Master measuring ingredients accurately, mixing methods, and understanding oven temperatures through these approachable projects.
Don’t skip basic muffins or simple sheet cakes. They introduce you to combining wet and dry ingredients properly. Practice makes perfect, and these straightforward recipes let you develop muscle memory.
You’ll learn to recognize when batter looks right and when baked goods are done.
Starting small prevents frustration and builds momentum. Each successful bake boosts your confidence. Soon you’ll tackle more complex recipes, but begin with these foundation recipes. They’re your gateway to becoming part of the baking community.
Conclusion
You’ve got this! Remember Sarah’s first attempt at banana bread—she skipped preheating and ended up with a dense, uneven loaf. Don’t let that be you. Master those basics: measure precisely, preheat properly, and respect oven temperatures. Start with simple recipes like chocolate chip cookies or vanilla cupcakes. Your kitchen victories begin with these fundamentals. Keep practicing, stay patient, and soon you’ll be baking like a pro.
")